
Installing under-cabinet lighting
Under-cabinet lighting is an inexpensive way to enhance the looks and practicality of any kitchen.

Under-counter lighting is available in complete kits. This one include six lights, a multi-connector and wiring, and a surface-mount dimmer switch.
The self-contained under-cabinet lighting kits available today include everything you need – lights, wiring, transformers and switches.
Based on the number and location of lights to be installed, locate the most appropriate power source outlet and estimate how much plastic-sheathed cable (Romex) you’ll need to bring the power to a suitable junction box mounted in the upper cabinets.
Many kitchens will have power in an upper cabinet to power an over-the-stove fan or cabinet-mounted microwave. If that is not the case, run power from outlets elsewhere in the kitchen, from the basement or even from the attic and route the cable to the upper cabinets. For a professional appearance, use conduit.

Wiring for the lighting is in the kit, along with hardware for surface or flush mount of the lights and instructions.
If you are using a kit with a self adhesive touch-switch designed for under-cabinet lighting, select a location to install it. If you are planning to install a regular switch or dimmer switch in the backsplash area, select the location, cut a suitable opening.
Use a ceramics drill bit to drill a series of holes and break out the hole for the switch box if the backsplash is tiled. If the electric supply is in or through the lower cabinets, you’ll need to run wire behind the backsplash (behind the drywall) to the upper cabinets and the switch circuit.

Install the light base by screwing it to the under side of the cabinet.
Once you’ve determined the location for the under-cabinet lighting and the cable runs, drill a ½-inch hole in the back of the upper cabinet near the bottom edge and through the drywall behind.
If you are powering from below, cut a corresponding 1⅛-inch hole in the base cabinet below.
Attach the conduits, and pull the cable making sure there is plenty to reach up the wall and to the light fixtures. Be generous; it can be shortened later.
If there is already a light switch or suitable power with a live, neutral and ground wire in the backsplash, you may want to open up the wall and install a bigger switch box to accommodate the extra circuit and switch.
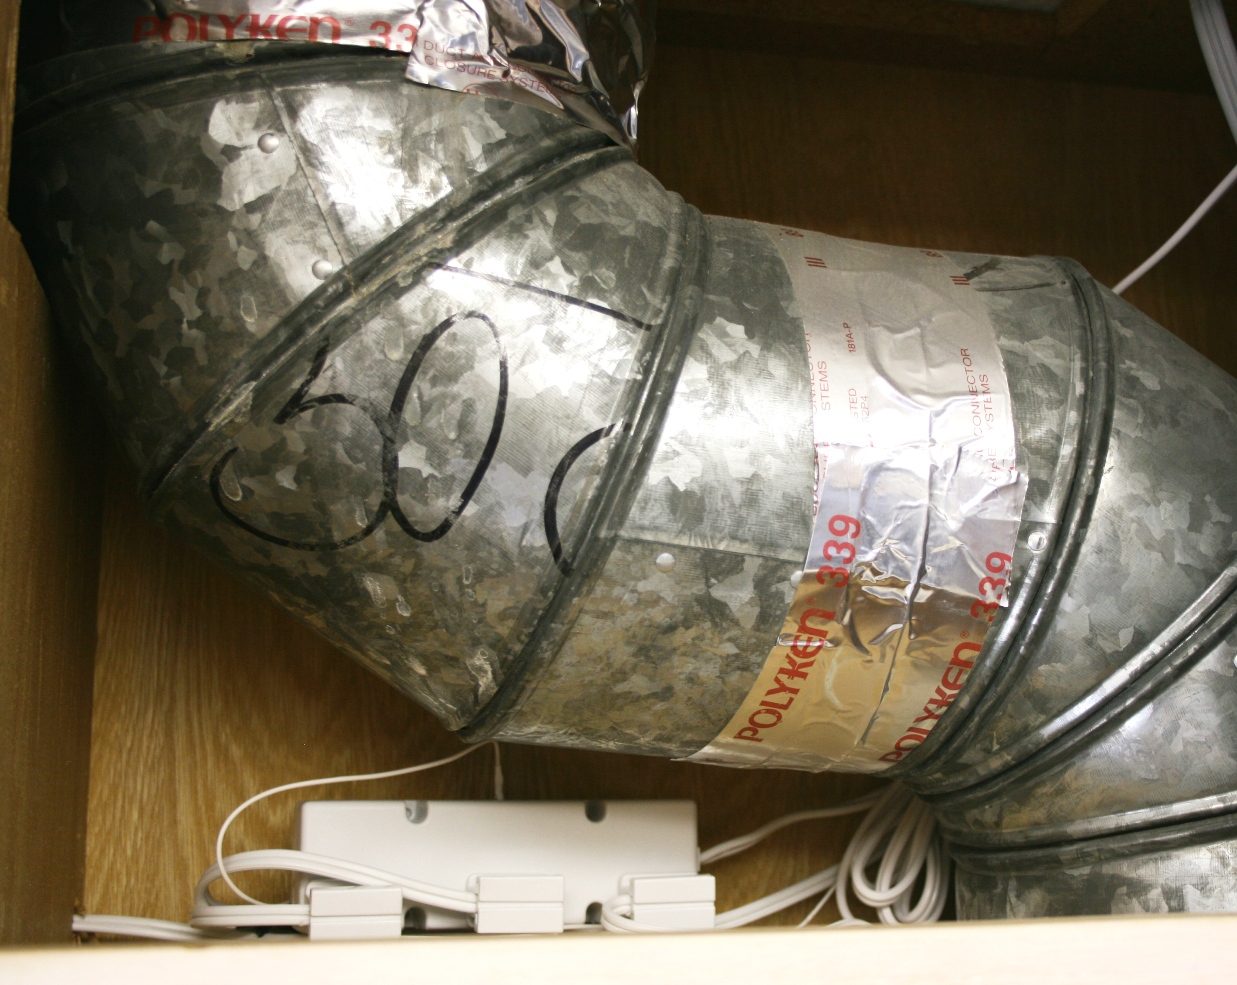
In this installation, the upper cabinet with over-range hood has an existing electrical socket, making installation and in-cabinet cable runs easy to do.
Feed a small gauge wire down from the ½-inch holes in the upper cabinet and hook it through the lower hole. Use this to pull down a fish tape. Then pull the Romex and sufficient conduit to enter the wall back up to the upper cabinet.
A similar 1⅛-inch hole will be needed for the cable run to the switch. Use a remodeler switch box with clamps that will pull the box tight to the tile. Run cable to the light fittings, stapling it neatly under the counter. Screw the under-cabinet lighting fixtures to the underside of the cabinet and connect all the wires before connecting to the power supply.

Lights installed and powered up add a dramatic kitchen accent.
Locate the circuit breaker for the supply, turn it off, connect the lighting at the supply, turn circuit breaker on and you have light.
–By Steve Sturgess, stevesturgess.com
