
How to hang cabinets
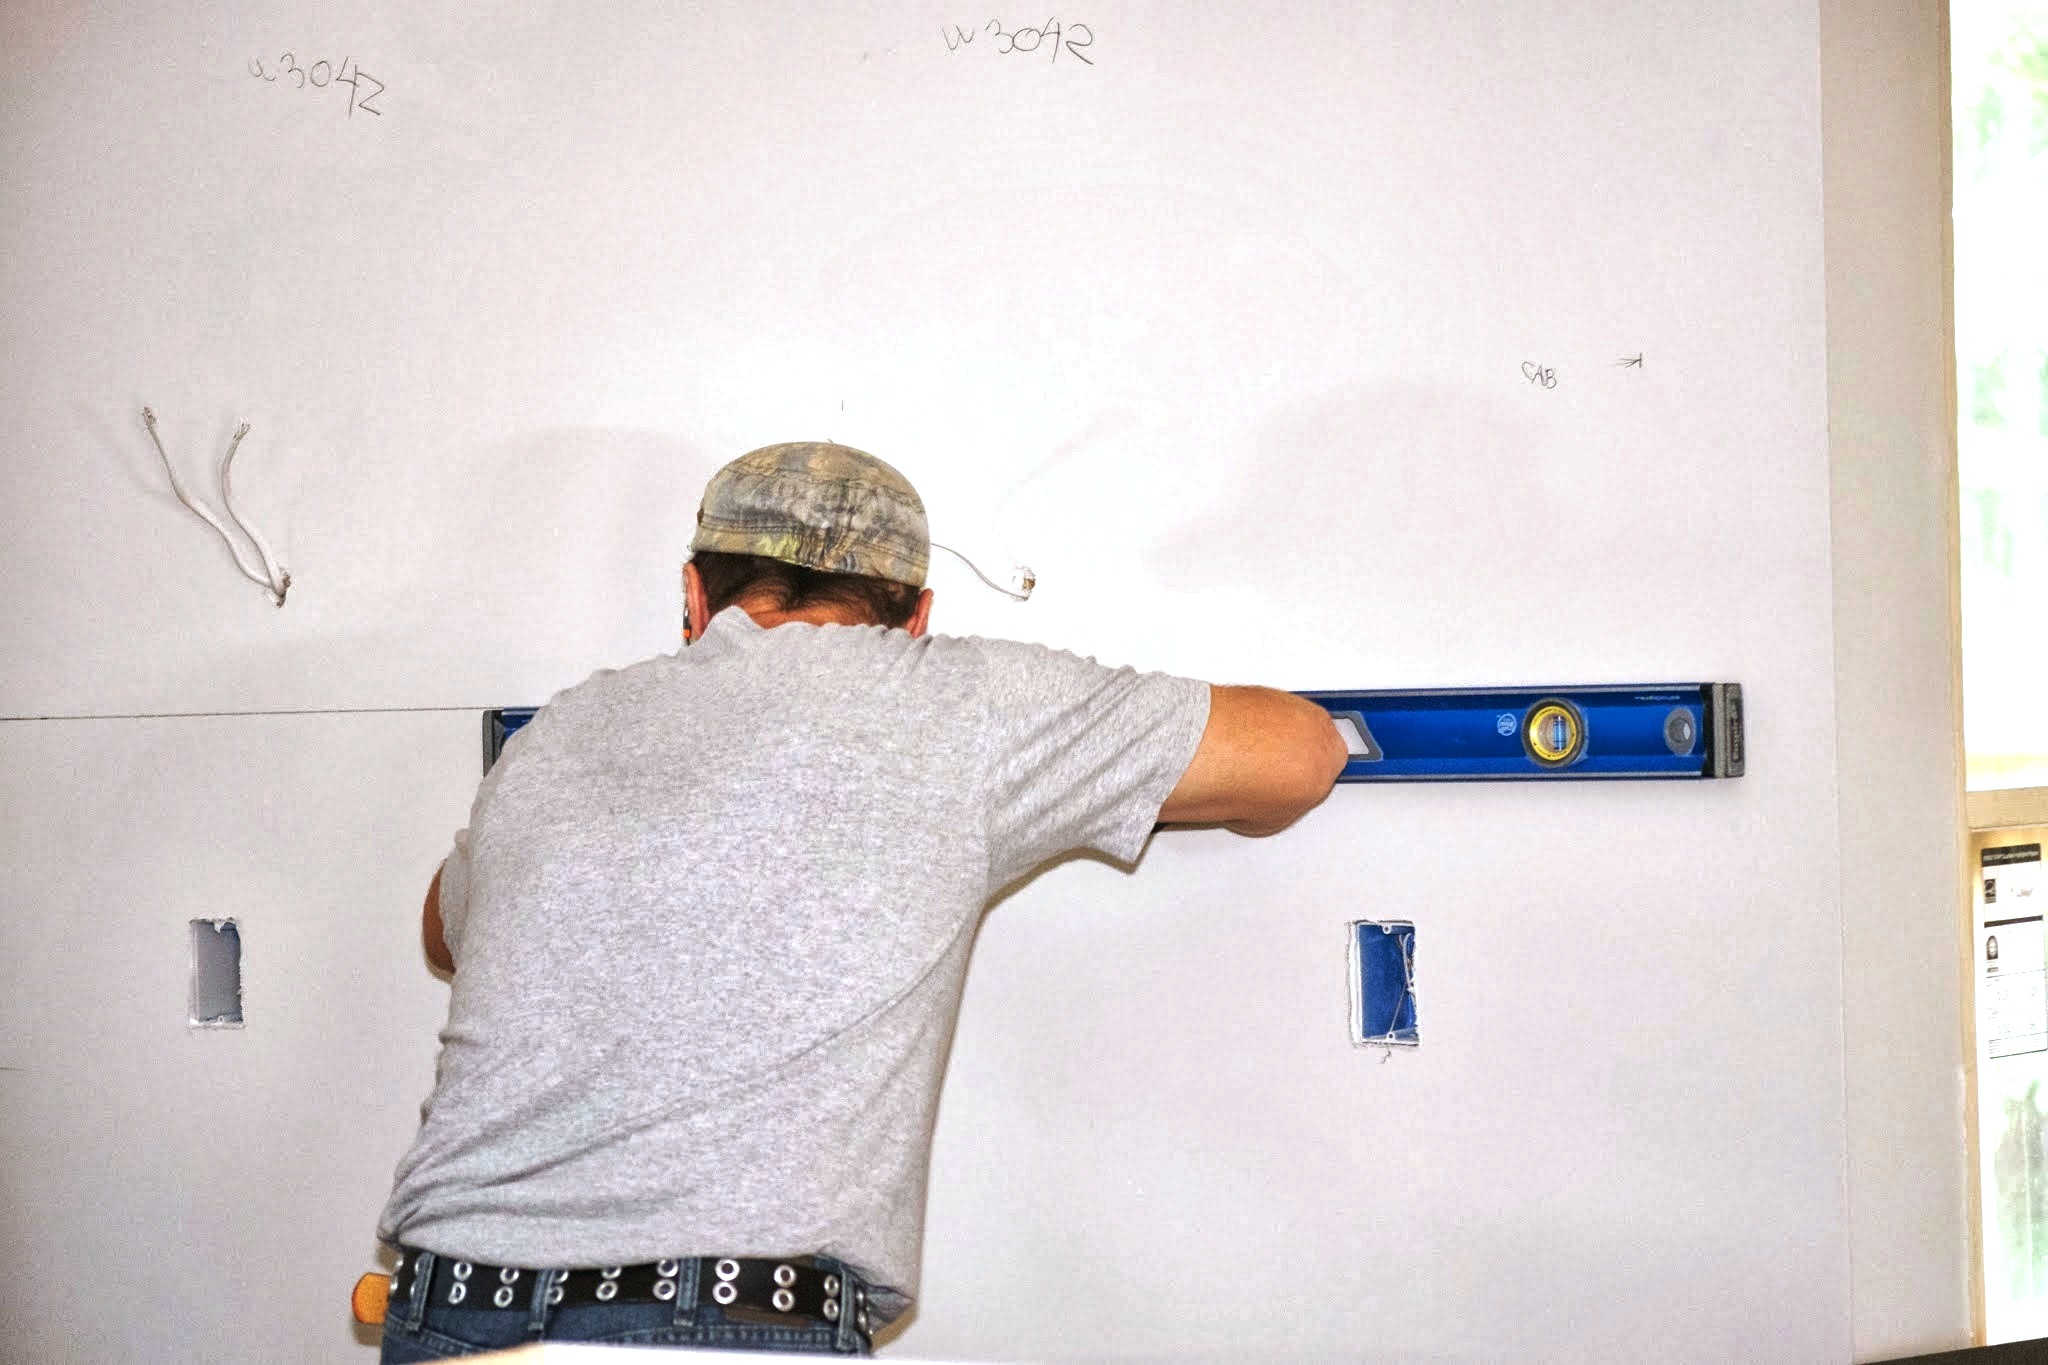
When marking the layout line for the upper cabinets, make sure you indicate the location of all studs and any electrical lines or other penetrations.
Installing upper cabinets can be tricky. You’re trying to achieve the look of a single extended unit of built-in furniture by attaching several individual units to uneven surfaces.
Plan ahead
Installing the upper cabinets before the lower cabinets will give you more room to work plus you won’t risk damaging the lower cabinets when you lean over them with a tool belt while you work on the upper cabinets.
Make sure all electrical and plumbing lines have been properly roughed-in. Remove any doors and unnecessary hardware from the cabinets. This will make them lighter and easier to handle. It will also minimize the risk of damage during installation.
Use a 4-foot level, framing square and straight 2×4 to check the walls and corners for flatness, plumb and square. Note any areas where shimming or scribing will be necessary, and repair any damaged areas of the wall that will not be concealed by the cabinets or that will interfere with installation.

Set the corner cabinet first. If you are working solo, you can install a ledger board or fashion a T-brace, as in this photo, to support the weight of the cabinet while you work.
Step 1 – Establish position for upper cabinets
Mark a reference line and find the high point. Unless your upper cabinets are going to be tight against the ceiling or a soffit, you’ll have to mark a line for the cabinet height. This means first finding the level line for the base cabinets.
Using your level, mark a reference line on all the walls, then measure down from this line to the floor in several places. Where the measurement is shortest is the high point of the floor. Clearly mark this point on the wall.
Mark the layout lines for the lower and upper cabinets. At your mark for the floor’s high point, mark the height of your lower cabinets. Extend a level layout line from that mark along all the walls. Then measure up from that layout line to find the bottom edge of the cabinets. Mark all stud locations along the layout lines.

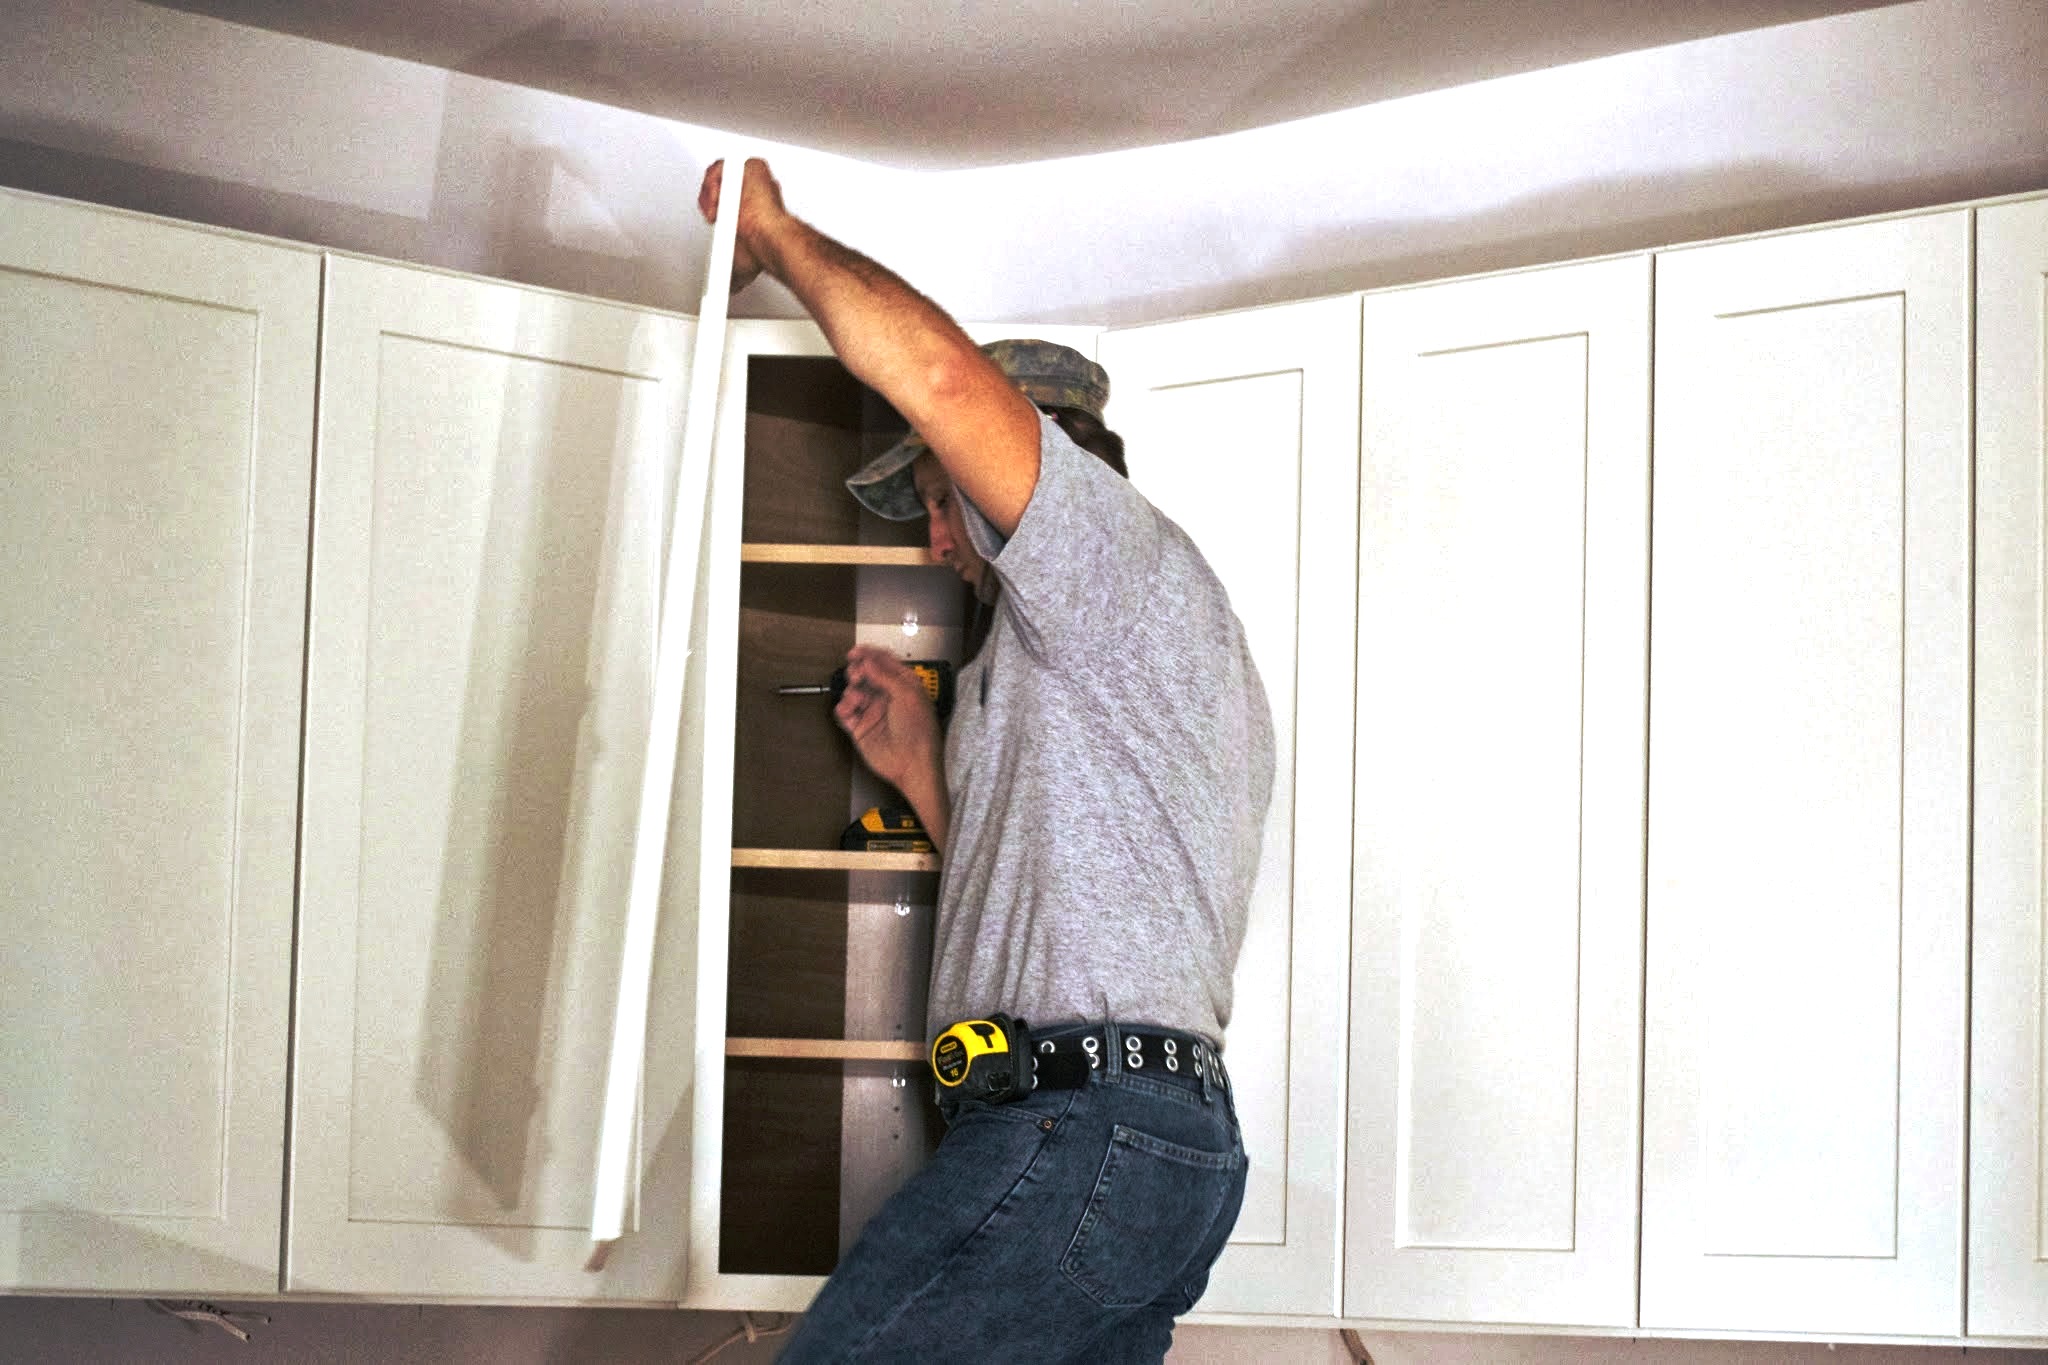
Once the corner cabinet is plumb and level, begin attaching the adjoining cabinets. Make sure all faces and edges are flush before clamping and fastening.
Step 2 – Set corner cabinets first
Start in the corner, whether the plan calls for a corner cabinet or a blind cabinet. Take your time with the first one to be absolutely sure it is plumb and level both side to side and front to back. Install shims between the cabinet and the wall as necessary until everything is plumb and level.
Drive cabinet screws or 2½-inch deck screws with washers through the cabinet and shims at the inside top, making sure to hit the mounting rails, and along the bottom edge. Drive the screws snug, but do not sink them all the way yet to allow for any final adjustments and shimming.

Drill pilot holes where they will be concealed by hinge hardware, then drive screws to fasten the face frames of adjoining cabinets together.
Step 3 – Set adjoining cabinets
Place the next cabinet beside the corner cabinet and clamp them together, making sure the faces are flush and the tops and bottoms align.

Drive screws through any shims and into the studs along the bottom edge of the cabinets, as well as through the mounting strip along the inside top edge.
Step 4 – Join cabinets
Drill pilot holes through the sides of the face frames to join the cabinets together with 2-inch screws. Drill pilot holes where they will be concealed by the door hinge hardware, if possible.
Then drive the screws to attach the cabinet to the wall – snug but not tight. It may be easier to join two or more smaller cabinets together before you hang them. This makes it easier to get the face frames flush and line up the tops and bottoms. Then hang them as a single unit.
Drive screws through any shims and into the studs along the bottom edge of the cabinets, as well as through the mounting strip along the inside top edge.
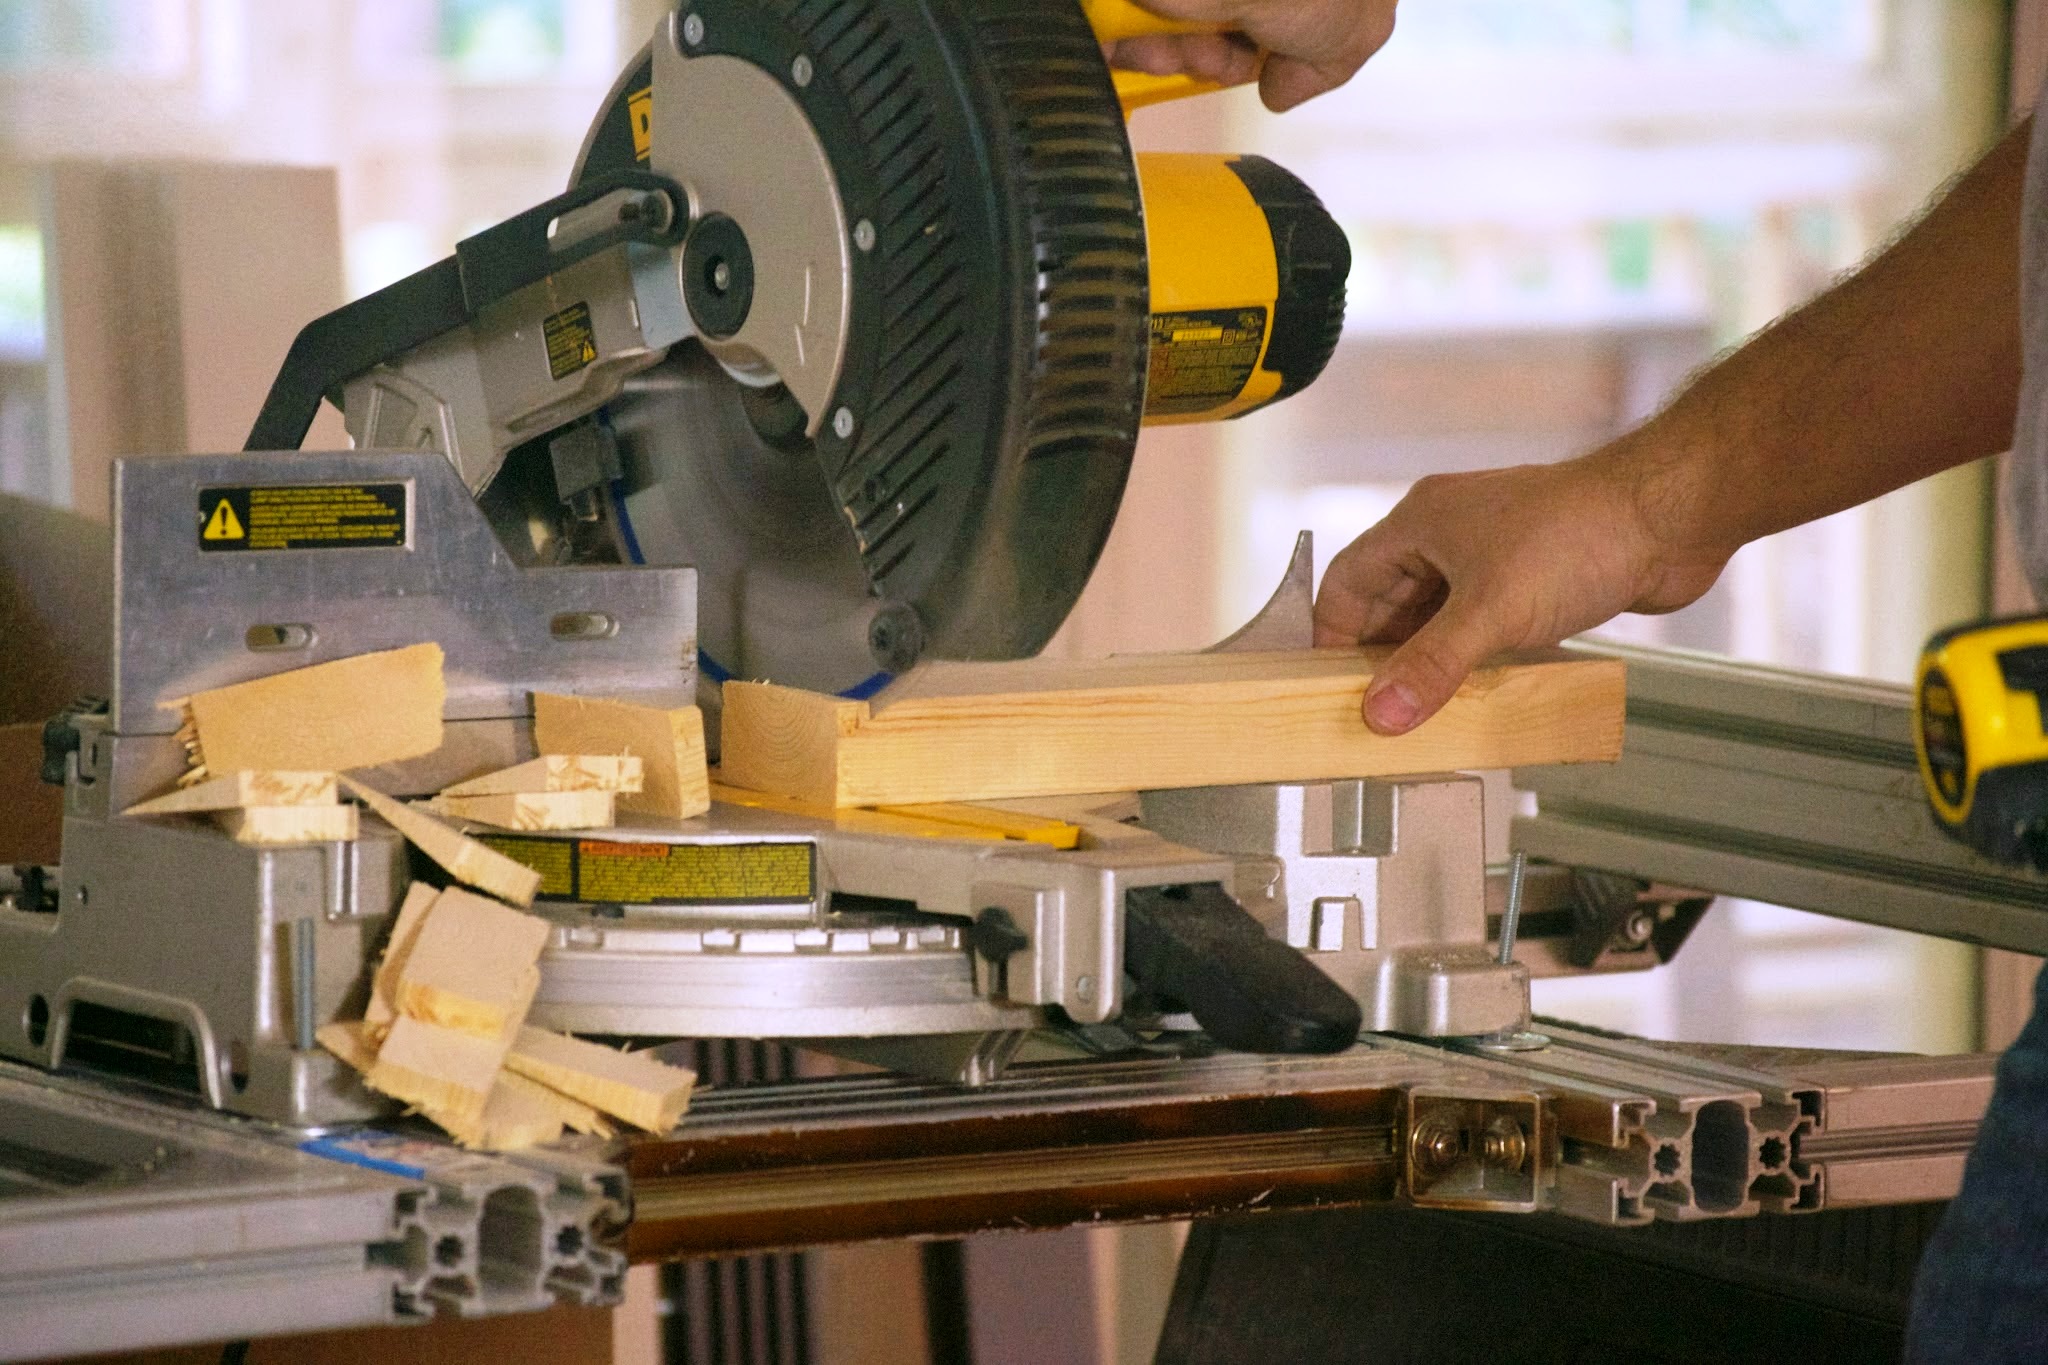
If you run short of shims, you can make your own by sawing the end of a 2×4 at an angle using your miter saw.
Step 5 – Tighten things up
Once all the cabinets have been set, go back and be sure all the necessary shimming has been done.
Then you can drive all the screws tight, making sure nothing gets pulled out of line or twisted as you do.
Cut all shims flush with a utility knife so they are not visible. Re-install doors, shelving or hardware you removed.
If you run short of shims, you can make your own by sawing the end of a 2×4 at an angle using your miter saw.
