
Building a stucco wall
For centuries, stucco has proven to be one of the most enduring, versatile and weather-resistant exterior wall finishes. Follow these steps for building a stucco wall.
A stucco wall can be created over standard wood frame walls in a three-coat process and over masonry and on poured concrete walls in a two-coat application. Before starting your stucco wall, check local building codes for wall assembly and moisture barrier requirements.
Step 1
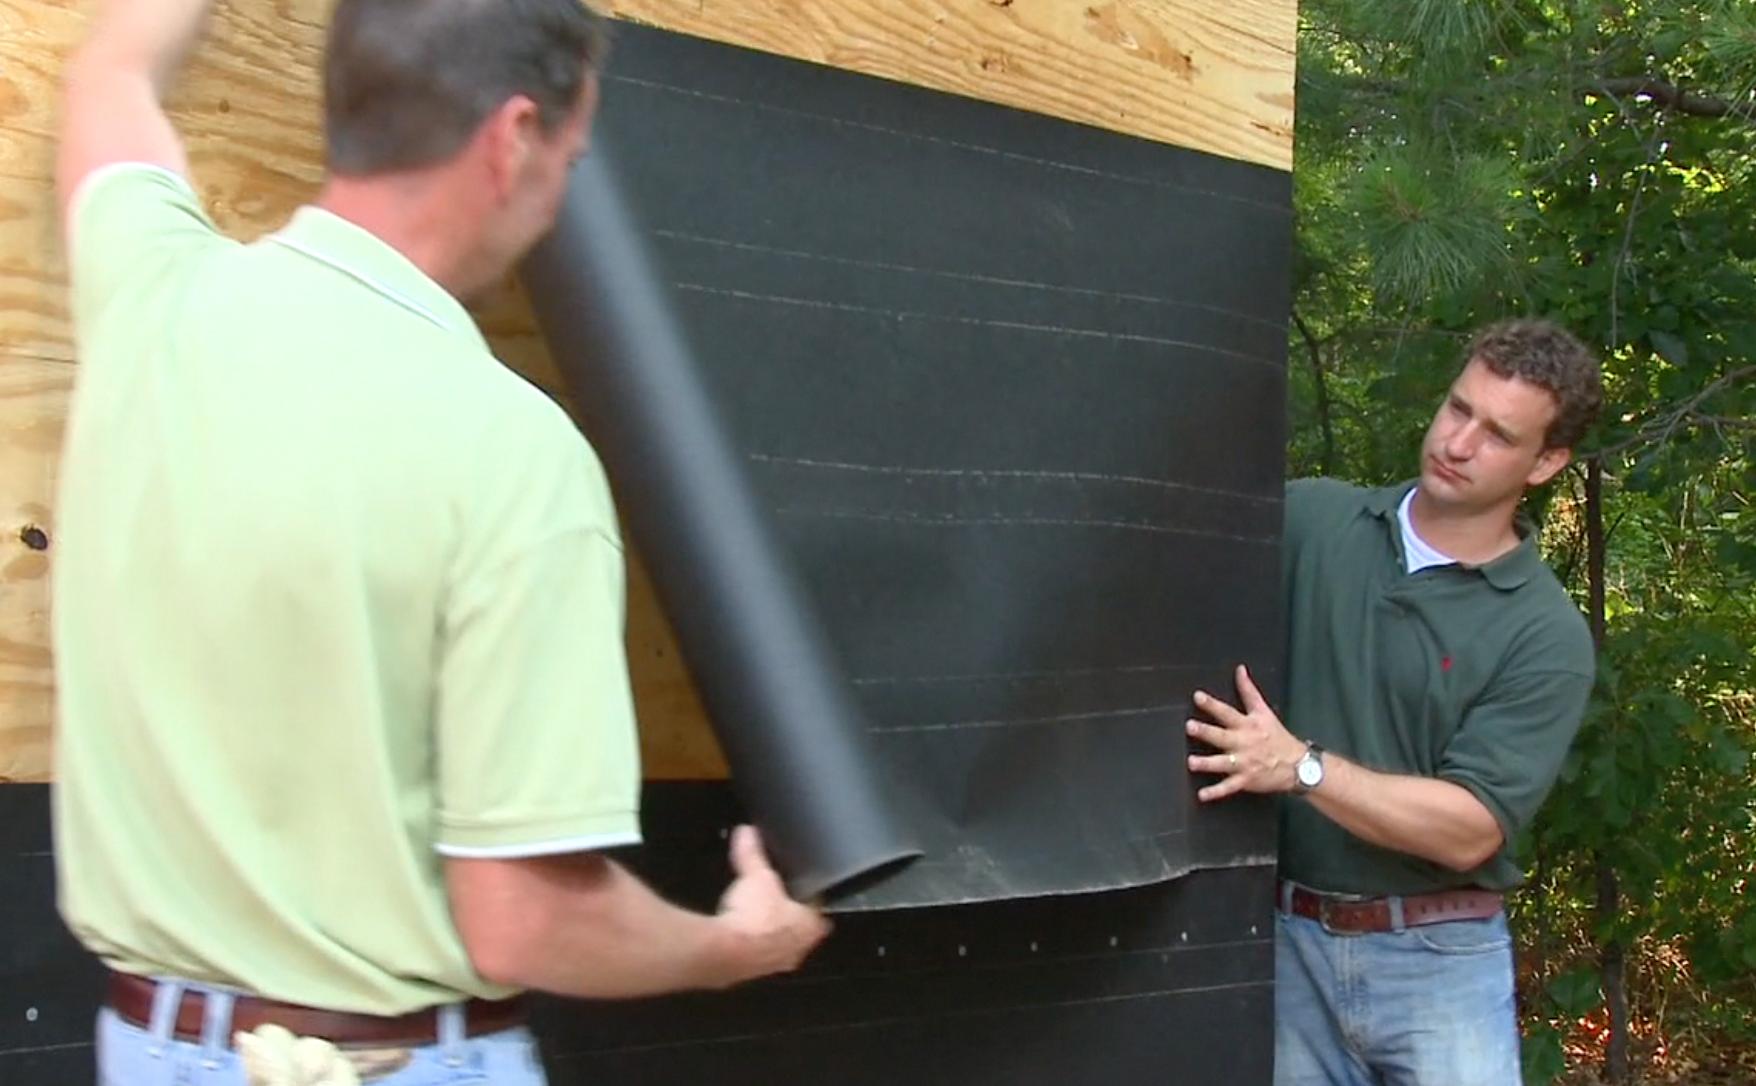
Building a weather-resistant stucco wall requires use of two layers of Grade D waterproof building paper over the wall sheathing before application of the stucco. Attach waterproof building paper using galvanized nails or staple extending 16 inches around all corners. Overlap vertical seams 6 inches or more and overlap horizontal seams 4 inches in a shingle fashion. Install trim accessories and casing beads.
 Step 2
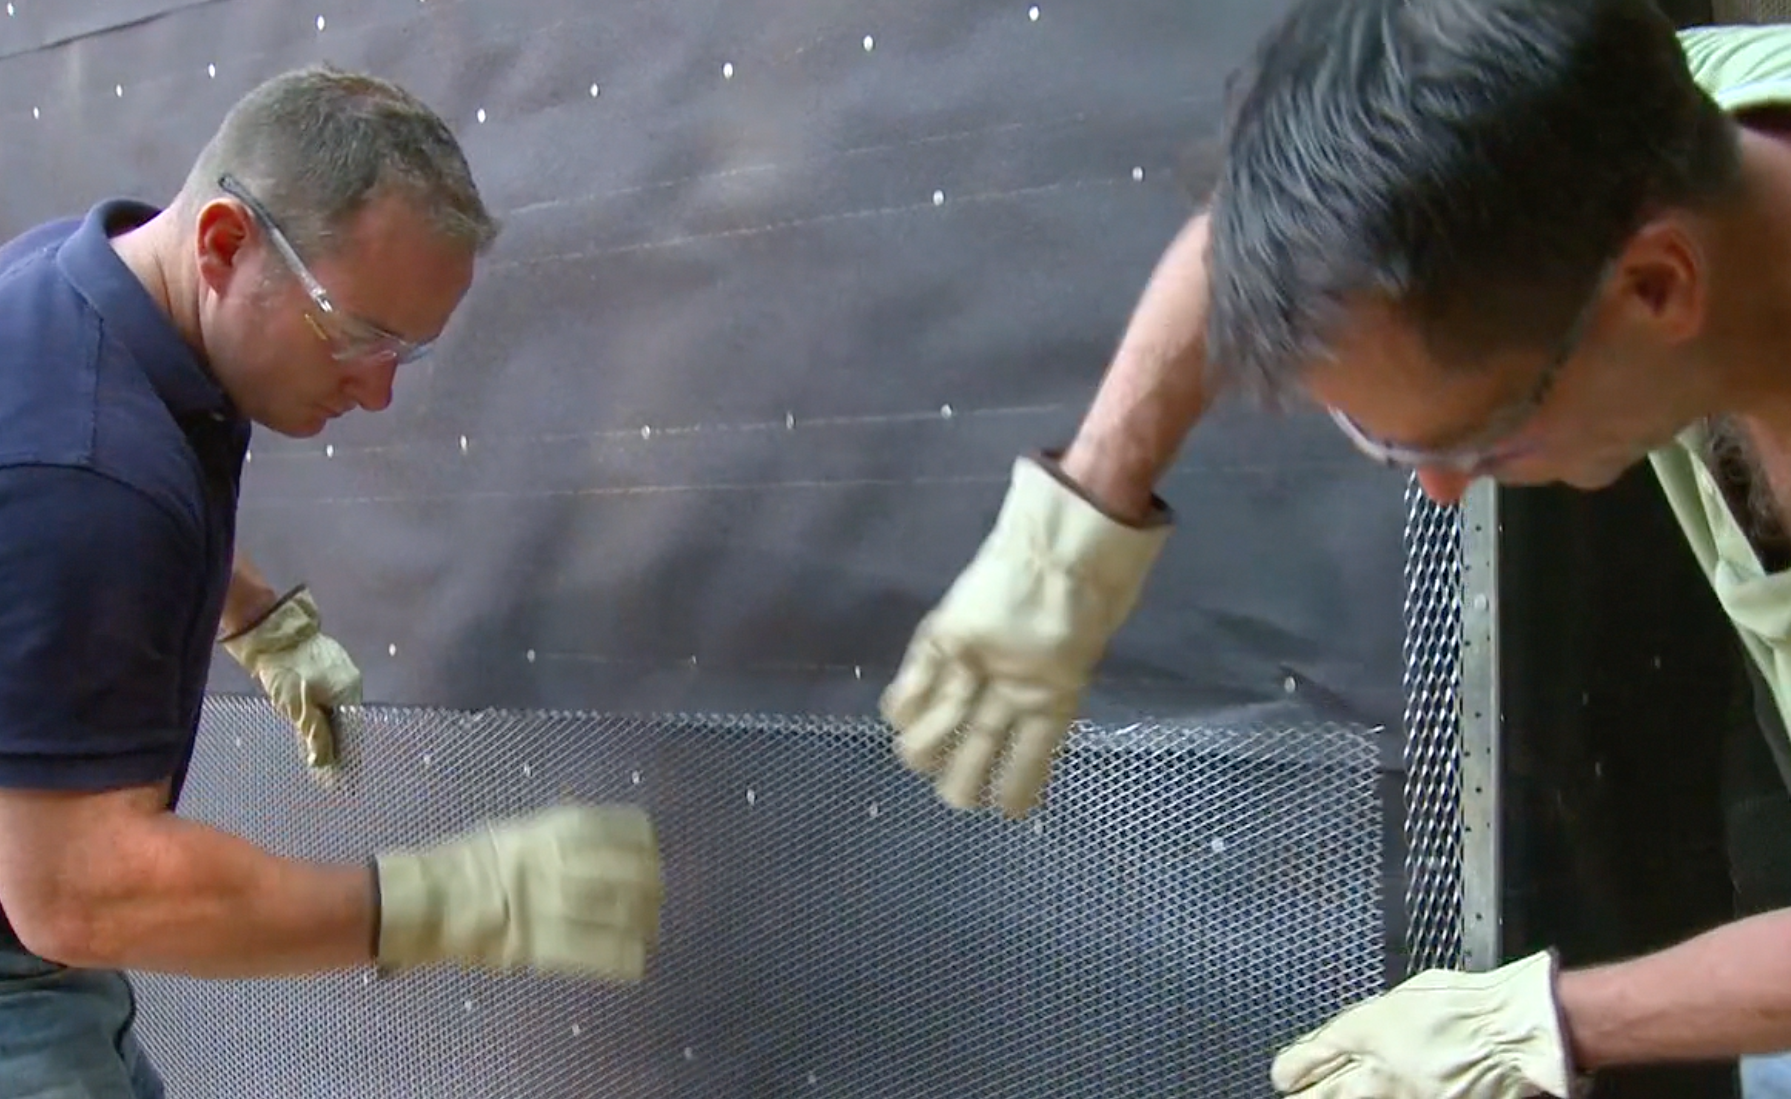
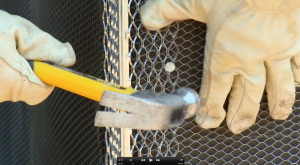
Install a galvanized, self-furring expanded metal lath or 1-inch woven wire stucco netting over the entire surface overlapping 16 inches around corners.
The lath or stucco netting should overlap 1 inch on horizontal seams and 2 inches on vertical seams. Galvanized nails or staples should be used every 6 inches both vertically and horizontally and penetrate the studs a minimum of 1 inch.
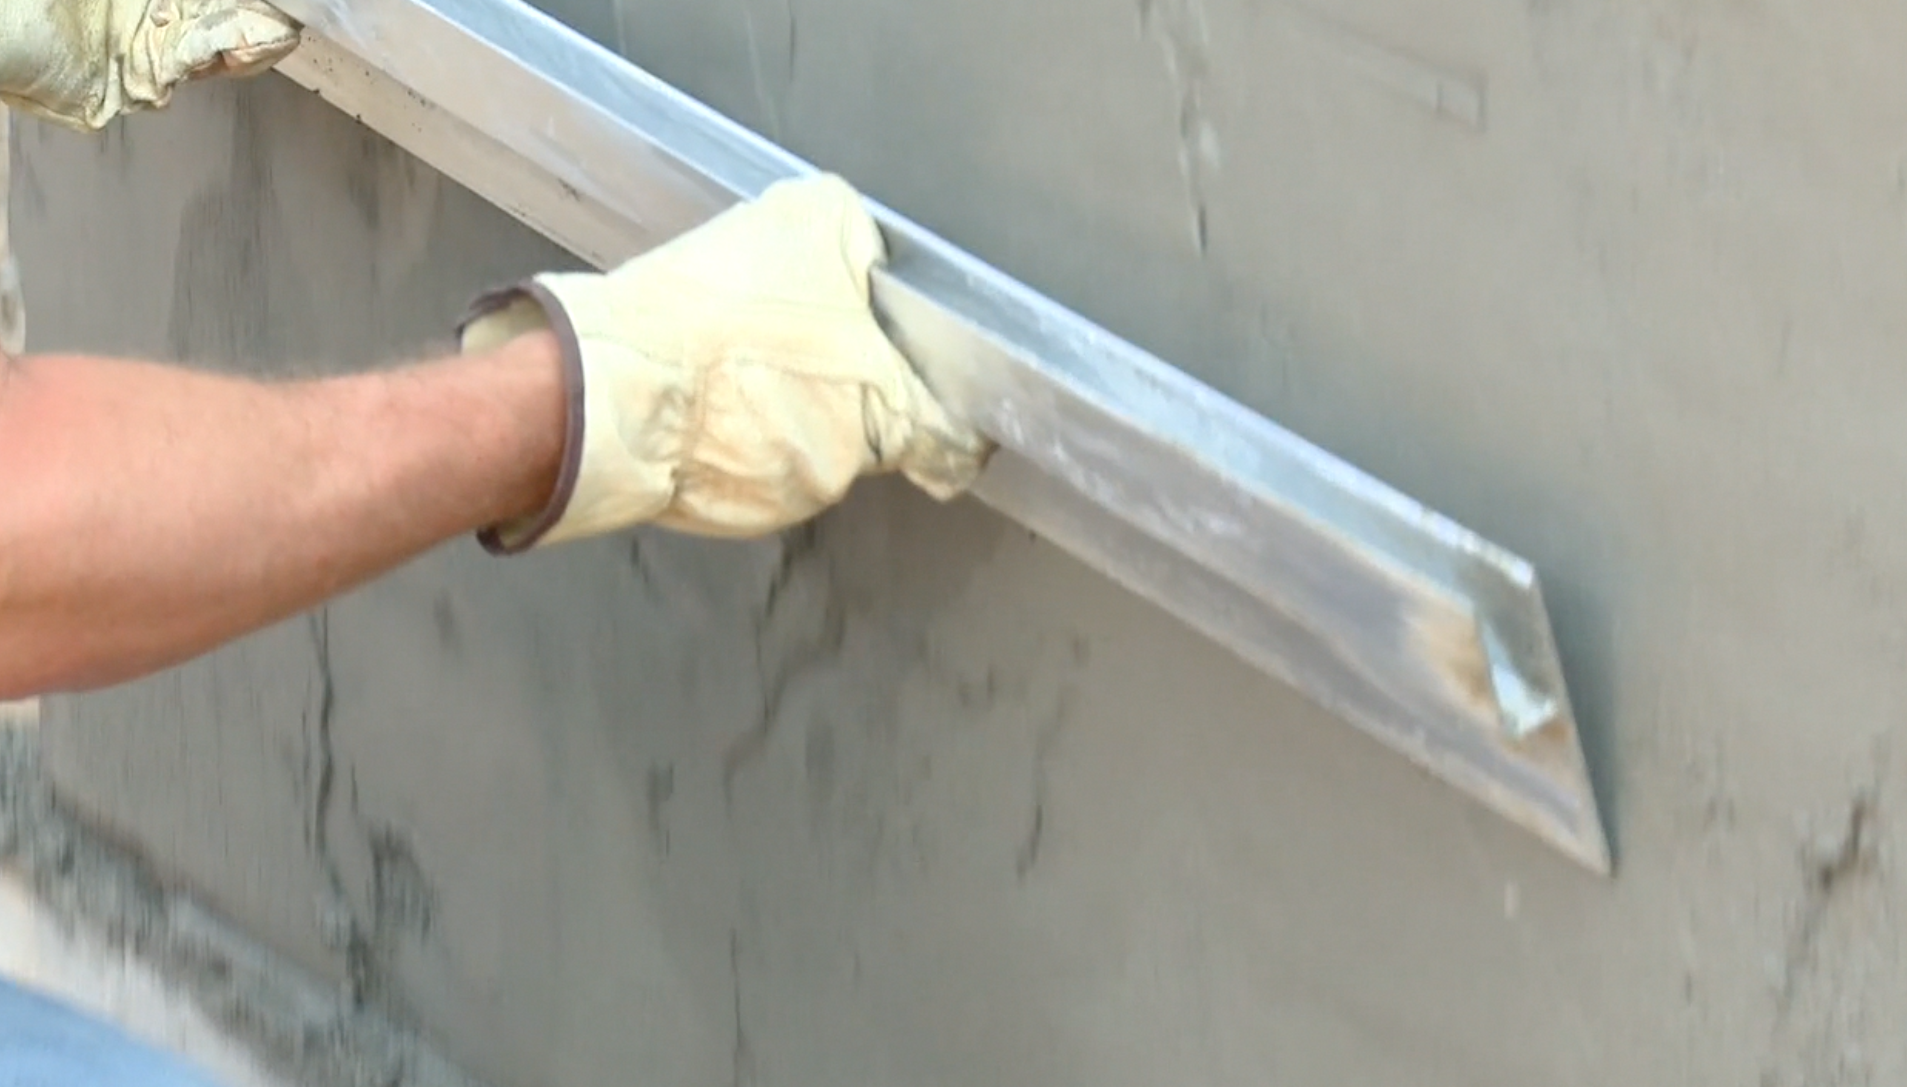
 Step 3

Place control joints to create wall panels no larger than 144 square feet, keeping the panels as square as possible. Stucco will shrink as it hardens and cures. Install corner trim on all outside edges to protect the exposed stucco.
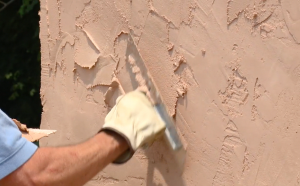
Step 4
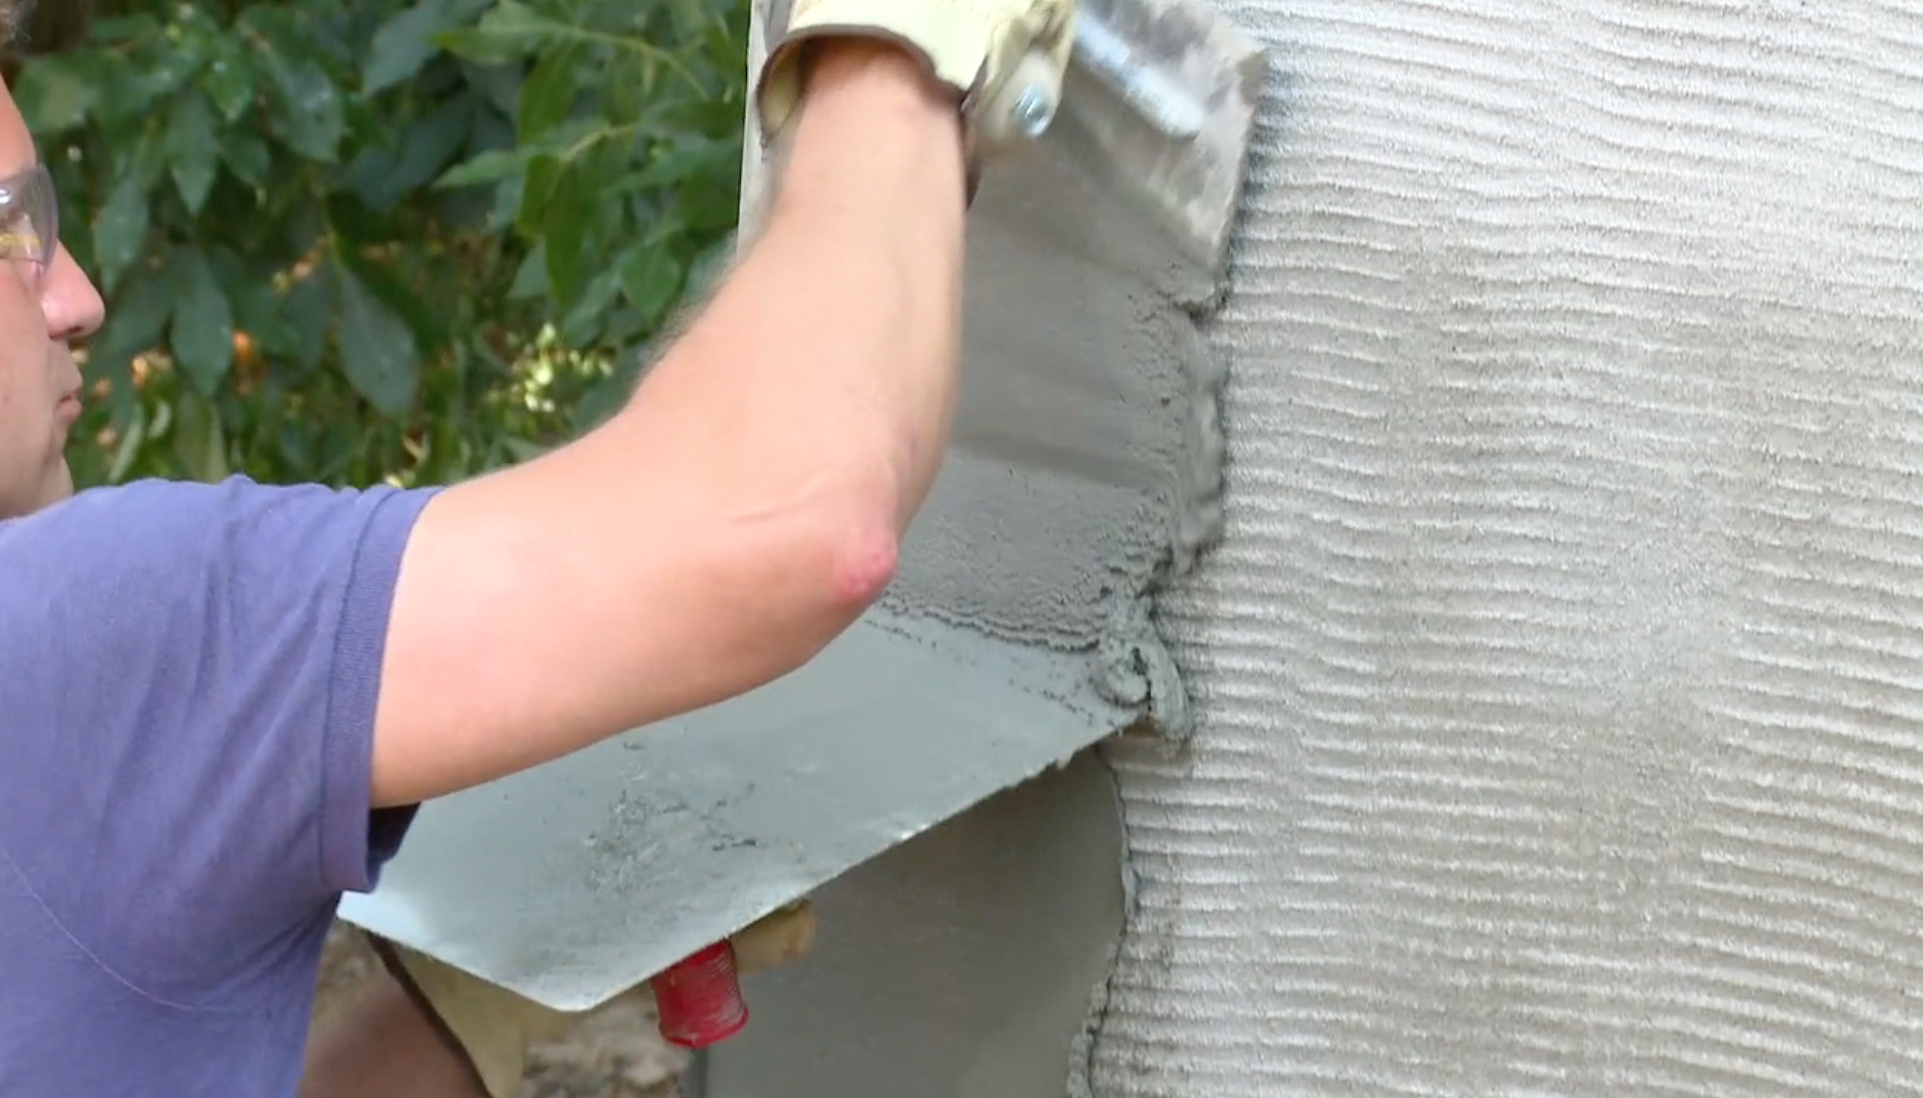
Mix the base coat stucco to a workable consistency. The proper consistency is achieved when the stucco will “hang” on a trowel held at a 90 degree angle. Apply the base coat stucco using a square trowel held at a 45 degree angle. Use firm trowel pressure to force the stucco into the lath. Work from the bottom of the stucco wall up and apply at a thickness of about ⅜ inch over the entire area. Next, screed the stucco to a uniform depth of ⅜ inch.

Step 5
When the stucco has become thumbprint hard, scratch ⅛-inch deep horizontal grooves into the base coat with a raking tool, called the scratch coat. Cure the scratch coat for 24 to 48 hours, keeping the surface damp by applying a fine water mist over several days.
Mix and apply another ⅜-inch layer of base coat stucco directly to the scratch coat.
Using a straight board or darby, screed the surface to a thickness of ⅜ inch and fill any surface voids with additional base coat. The total combined basecoat depth should be ¾ inch. The scratch coat step is eliminated in a two-coat process.
As soon as the stucco wall has lost its sheen, float the surface uniformly using a wooden trowel and cure the base coat for 24 to 48 hours, keeping the surface moist with a fine water mist.
 Step 6

Apply a ⅛-inch thick coating of QUIKRETE Finish Coat Stucco working from the bottom of the stucco wall to the top. Finish Coat Stucco is available in white and gray and can be combined with more than 20 standard QUIKRETE colors. Complete the entire stucco wall in one application. Keep the surface damp by applying a fine water mist over several days.
