How to build a wall
If your customer wants you to move a wall, you’ll actually be removing the old wall and building a new wall in the desired location. While this installation procedure applies to a commercial building, the same principles apply in a residential application. Here’s how to build a wall.
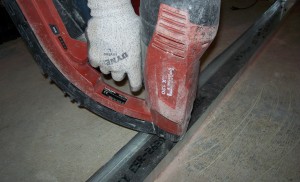
To install the track, use a portable fastening tool to shoot an anchor through the track and into the concrete below. Based on the fastening tool and size of the anchor, tracks are fastened at 24 inches O.C. If a smaller anchor is used, shoot two anchors every 24 inches O.C.
Remove the old wall
The first step to build a wall is removing the old wall. Before demolishing the old wall, you must know:
- If the wall is load-bearing, i.e. does it support any other structure above it? If there’s any doubt as to whether or not a partition is load-bearing, consult a design professional (architect or engineer) to determine what the load is and how to properly re-support it.
- Are electric, gas, plumbing or other utilities hidden in the wall? If so they must be properly disconnected before removing the wall.
- Does the wall need to be fire-rated to meet building code? Depending on the classification and use of a building, partitions that enclose exit routes and stairs are typically fire-rated. Fire-rated walls in commercial building have to be extended from the floor to the deck of the roof or floor above. Any penetrations through rated walls require special sealants, and ducts that pass through rated walls may require fire dampers to maintain the fire rating. A design professional or building department representative can assist you with identifying potential fire-rated walls and how they should be built.
Trying to salvage and reuse drywall and studs is more costly than buying new materials, so unless you can re-use wood paneling, trim or wainscoting don’t bother salvaging the old materials.
Assuming your new wall is a simple, non-load bearing partition, here are the basic steps and tools to build the new wall.
Steps and tools to build a wall
Lay out the new wall. Mark the approximate location of the wall along the floor. To make sure the wall is square to the adjacent wall, use the “6-8-10” rule. Pick a spot (point A) where the new wall will meet an existing wall and measure and mark a spot (point B) 6 feet from that point along your new wall. Then starting at point A, measure and mark a spot 8 feet along the existing wall (point C). Measure the distance from point B to point C. If it’s 10 feet, the new wall is square to the existing wall. If it isn’t, move point B until the distance relationship meets the 6-8-10 proportion.
Once the new wall line is square, measure the thickness of the new partition (typically 4-7/8 inches based on a 3-5/8 inch steel stud, and one layer of 5/8-inch gypsum board on each side, or a nominal 5 inches) When your rough marks are in, snap chalk lines over the marks to indicate where the new stud track should be placed. Be sure to indicate door locations or where other walls may abut. If you are working alone, anchor one end of the chalk line with a weight.
If your layout must remain in place for some time, create a template by cutting out a 5 inch x 12 inch hole in a scrap of cardboard. Spray paint through the template over the chalk lines at the doorways/corners/ends so the layout is more permanent.
[tip id=”9373″]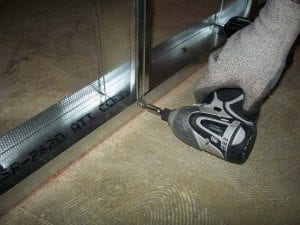
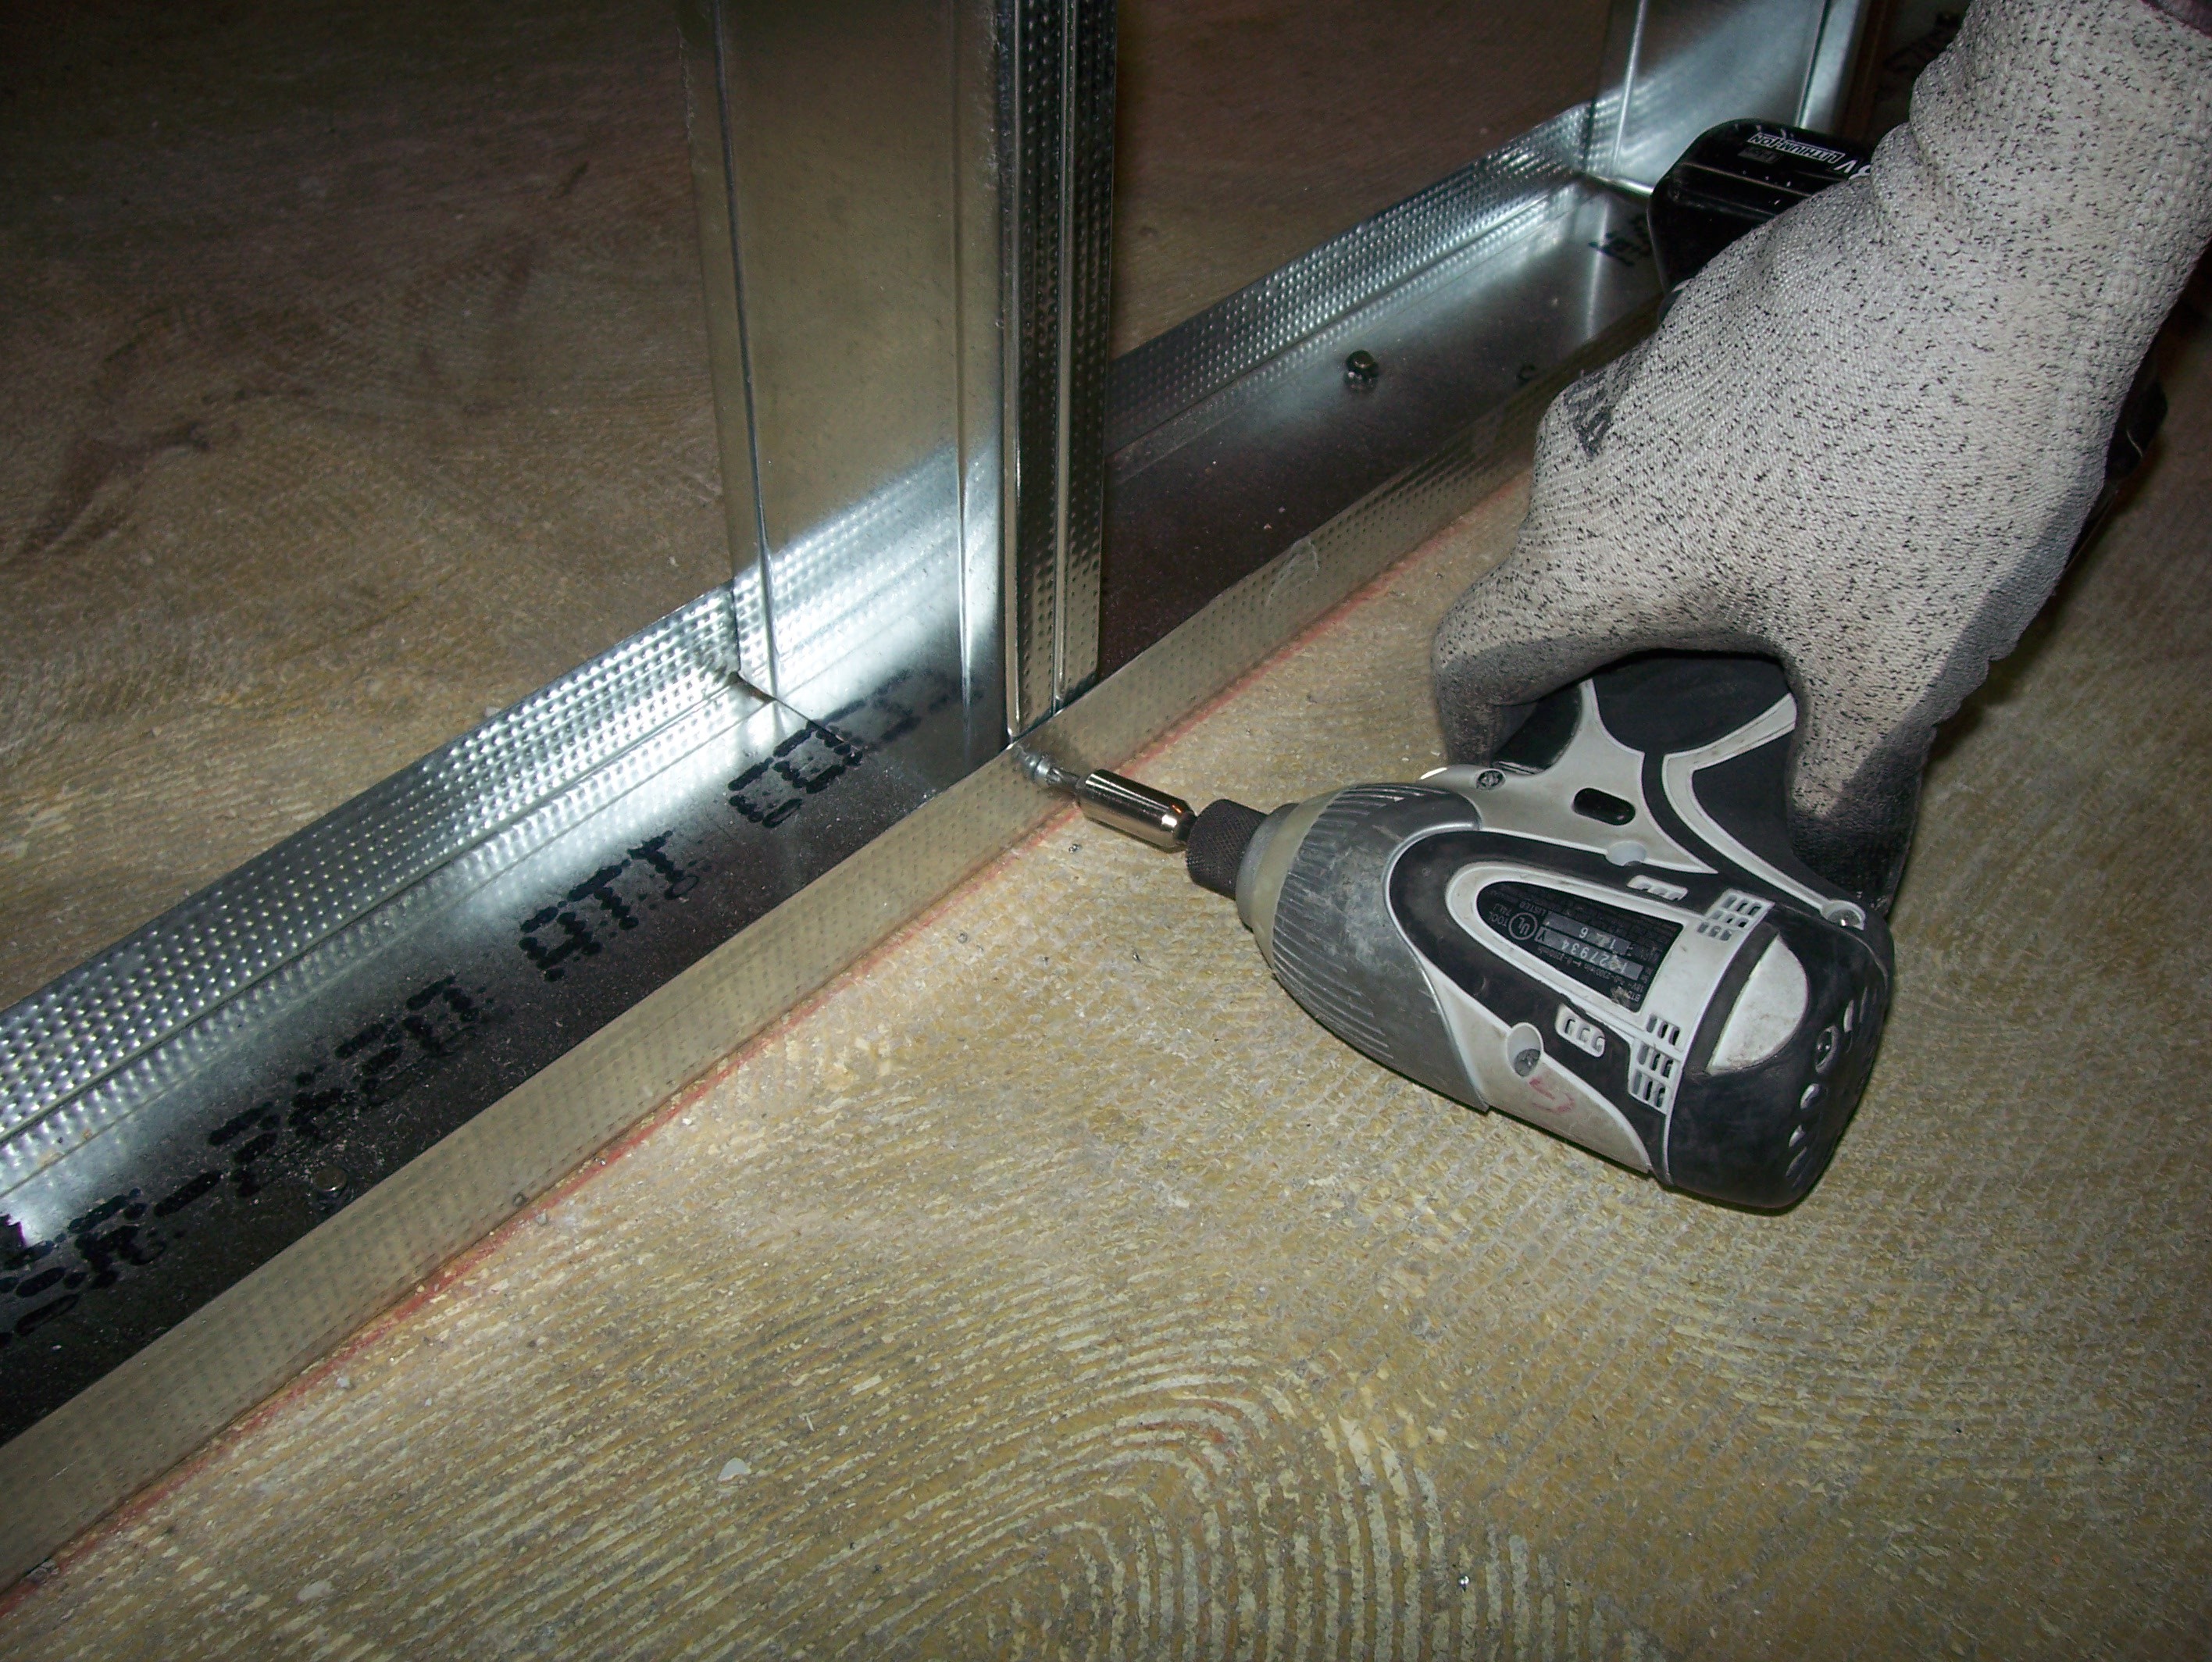
Once the top and bottom tracks are installed, you can stand up and screw the studs to the track with a screw gun. One at the top and bottom is enough.
Install stud tracks and studs
Before purchasing the steel track and studs, you must determine how tall the new wall will have to be, i.e. whether it will stop at an existing suspended ceiling, pass through a suspended ceiling a few inches and then stop, or run full height from the floor to the underside of the deck above.
The taller the wall, the heavier the gauge (thickness) of studs and track you’ll need, and the distance between studs (on-center, abbreviated O.C.) will be reduced. Most large retail outlets can special order other gauges of steel studs and track, but they typically stock 25 gauge. A simple partition wall that is 8 to 10 feet high can be built using 25 gauge studs at 24 inches O.C. This size studs is easy to cut, but flimsy and difficult to handle, especially on taller walls.
For most commercial applications, 20 gauge studs and track at 16 inches O.C. are the norm and can be used for walls up to approximately 14 feet. Beyond that height, additional diagonal bracing or “kickers” may be needed to brace the wall to the deck above.
The gauge of the top and bottom tracks should match the gauge of the studs. Track is sold in 10 foot sections. Studs are normally sold in 2-foot increments. If you have a commercial account with your supplier, you can probably order studs pre-cut to the specified length. Cut studs about ½-inch short of the top track to allow for the track to deflect slightly. Otherwise deck deflection can cause the gypsum board to crack.
To install the track, use a portable fastening tool. Fastening tools shoot an anchor through the track and into the concrete below. Based on the fastening tool and size of the anchor, tracks are fastened at 24 inches O.C. If a smaller anchor is used, shoot two anchors every 24 inches O.C. Track can be installed over existing flooring if needed. If the flooring is a hard tile (ceramic or quarry tile) be sure to shoot the anchors into the grout joints, not into the tile to avoid cracking the tile.
The same fastening tool can be used to anchor the top track to the underside of the metal deck above but only if the metal deck has a concrete topping. If the deck above your wall is the roof, it may have a metal deck below, but that doesn’t necessarily mean there’s a concrete top on the deck. If this is the case, use self-tapping screws to attach the top track to the deck above.
If the new wall needs to pass through the suspended ceiling (usually 6 inches), but doesn’t have to go all the way to the deck above, attach diagonal metal stud “kickers” from the top track to the deck above approximately every 4 feet to brace the wall.
[tip id=”9371″]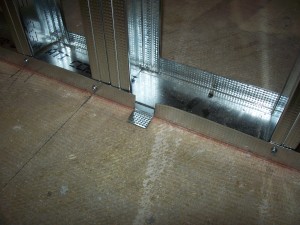
Door frame jambs or changes in the direction of the wall should get a double stud for strength. When the last two or three studs are being installed, you may need to cut a small notch in the bottom track to physically get the stud into the tracks.
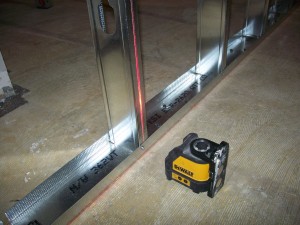
Once the top and bottom tracks are installed, you can stand up and screw the studs to the track with a screw gun. One at the top and bottom is enough. Pre-mark the bottom track with whatever stud centers you are using (16 or 24 inches O.C.). Before attaching the stud to the top track, be sure the stud is plumb. You can use a bubble level, but a small point laser is faster and more accurate.
Door frame jambs or changes in the direction of the wall should get a double stud for strength. When the last two or three studs are being installed, you may need to cut a small notch in the bottom track to physically get the stud into the tracks.
Before you start to hang the gypsum board install any wood blocking or backing from stud-to-stud to provide support for heavy wall-hung components like cabinets, shelves or televisions.
Hanging drywall
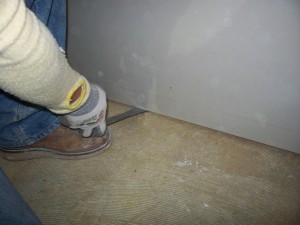
Use a small pry bar to lift the bottom of the sheet off the floor about ½ inch. If a water leak occurs, this gap will help keep the water from wicking up into the gypsum board and minimize the cost to repair any water damage.
When framing is complete, you can start hanging the gypsum board panels. Gypsum board is most commonly stocked and sold in 4 x 8 and 4 x 9 sheets, but longer sheets can be ordered. It’s typically 5/8-inch thick for commercial applications but ½-inch thick panels are often used in residential projects. Make sure you purchase the correct thickness, size and characteristics for your project. For example, get “FC” or fire code for commercial projects and water resistant for walls that will receive ceramic tile or be used in high humidity areas.
Try to layout stud centers so you can start with full sheets of gypsum board. Attach the gypsum board to the studs with self-tapping screws at 12 inches O.C. along a joint and at 16 inches in the center of the sheet. No attachment is needed at the top and bottom tracks.
Use a small pry bar to lift the bottom of the sheet off the floor about ½ inch. If a water leak occurs, this gap will help keep the water from wicking up into the gypsum board and minimize the cost to repair any water damage.
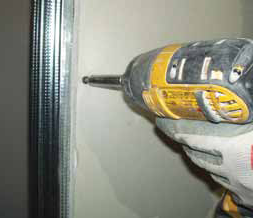
For a faster, better installation an adjustable drywall screw gun is recommended. This tool allows you set the depth of the head of the screw so it stops just beyond the paper face of the drywall.
For small jobs, the same screw gun used to attach the studs to the track is adequate to screw the gypsum board to the studs. But for a faster, better installation an adjustable drywall screw gun is recommended. This power tool allows you set the depth of the head of the screw so it stops just beyond the paper face of the gypsum board. Keep in mind that adjustable screw guns are not available with rechargeable batteries, so you’ll need extension cords and a power source.
Before you hang gypsum board on the back side of a wall, be sure to install any sound attenuation batts needed to minimize noise transmitted from one room to another.
Now you’re ready to tape, sand and finish the new wall.
—By Bruce Webb

