How to patch walls with knockdown texture
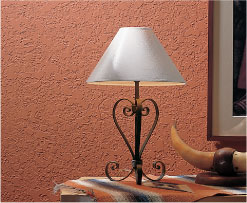
Knockdown texture exudes a causal elegance and lends itself to a wide range of furnishings, decor and architectures.
The rustic flattened texture called “knockdown texture” is very popular along the West Coast and in the Southwest.
Riding on the coattails of stuccos and skip trowels, knockdown texture exudes a causal elegance and lends itself to a wide range of furnishings, decor and architectures. Knockdown texture is also excellent for hide minor surface imperfections. Here is how to patch walls with knockdown texture.
If knockdown texture walls are damaged, the typical spackle and sand repair will leave a smooth area amid the textured surface. Painting over the area won’t conceal the difference in the wall surfaces. Blending in the new knockdown texture with the old is critical to achieving a professional, flawless finish.
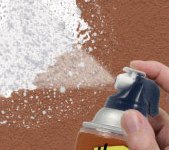
Whether you want to patch a damaged area in an existing knockdown texture wall or apply this effect to an accent wall, it’s easy to do with an aerosol texture designed to patch walls with knockdown texture.
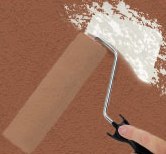
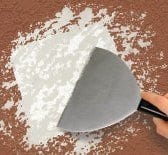
Typically, knockdown texture is applied commercially with a hopper gun and compressor. A medium-sized splatter texture is applied and then allowed to set up for a short time. The edge of the texture splatter starts to dry, while the tops stay wet. A wide edge drywall knife is then used to flatten or “knock down” the splatter in all directions, leaving a random knockdown texture.
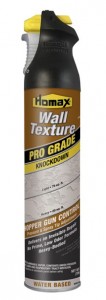
Low odor, easy cleanup, water-based knockdown texture spray from Homax is ideal for this application. (Homax also makes a knockdown knife specially designed for patching knockdown textures.)
Patch walls with knockdown texture step by step
Step 1
Read the instructions on the can carefully before you begin to patch walls with knockdown texture. When patching an existing knockdown texture wall, adjust the nozzle to apply the desired pattern size that matches the pattern on the wall. Test the application on a piece of scrap drywall until you are comfortable with your technique and get the desired result.
Step 2
Apply the texture sparingly in a random pattern. For a heavy knockdown texture (2 to 3 inch diameter), apply several layers of texture or apply heavier “bursts” of texture to the surface.
Step 3
Allow texture to set (or dry) partially. Set time will depend on how heavily you apply the product. When the edges begin to dry, try knocking down a small area. You can always scrape off an area and re-apply if you don’t get the result you want. Do not apply the texture over 100 percent of the surface (full coverage). The low spaces in between the texture splatters are what create the dimension when the area is painted.
Step 4
Paint to achieve the finished look.
New from Homax
Homax Pro Grade Knockdown Wall Texture with Dual Control Technology is the latest innovation in aerosol textures. This professional tool features adjustment of both pattern and pressure – similar to that of a hopper gun, making it convenient and simple to use without the hassle of mixing or using a compressor. The heavy-bodied knockdown formula is tinted for improved visibility during application. Simply spray, “knock down” with a mud knife and paint to achieve an invisible, professional repair. No priming is required.

