Hanging Drywall Like a Pro
For hanging drywall, regardless of where you’re putting it up, all you need is a lot of patience… and the right drywall tools.
Find out how to hang drywall like a pro to get your DIY drywall project started.
Selecting Your Drywall
Hanging drywall starts with the drywall. Should you use 3/8 inch or ½ inch panels? If your house has been built in the last 20 years, you’re good to use 1/2 inch sheeting. If not, go with the 3/8-inch sheetrock.
If you’re installing the drywall in a bathroom, kitchen or other room that is exposed to water or excessive moisture, you’ll want to use moisture-resistant drywall.
Tools of Your Trade
For hanging drywall you need the right tools. They don’t have to be super expensive drywall tools that professional contractors use. You can hang your drywall by using the following tools:
- Carpenter’s pencil – To mark the spots you need to identify on the drywall.
- Razor Knife – Get yourself a sturdy, durable knife that won’t waste your time.
- Screw Gun – You need something with a little torque. While an impact gun works, you might want to invest in a drill – every DIYer’s best friend.
- Keyhole Saw – If the room you’re working has any power outlets or light switches, you’re going to want something to use on the sheetrock in those areas.
- Hammer – Every DIY warrior should have a hammer handy. While you typically shouldn’t need one here, it’s better to be ready.
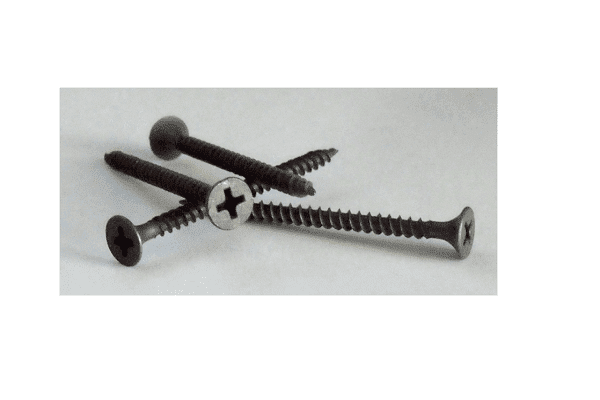
- Drywall Screws – Screws over nails – say it again. While nails have their place, screws are much more precise.
Removing the Old Drywall
Putting up drywall centers on how you take the other pieces down. While you can use a hammer to dislodge the drywall, the best approach is to make a hole in between two studs with the flat edge of your hammer, and slowly reduce the piece through prying and strategic hits. As you know, you have to be conscious not to break anything that you don’t see (water lines, etc.). You also can use a prybar or large flathead screwdriver to help over the studs.
Carefully locate the screws by scraping a quarter inch or so deep along the outside seams of the board. Next, grab a small chisel or large flathead screwdriver and chip them out until you see the head, and unscrew them. Once you remove all of the screws, chip out the seams and remove the board. Remember to check for nails and screws and remove them, which will make hanging the new drywall easier.
Hanging the New Drywall
Start by marking off the studs in the frame with your carpenter’s pencil. Make sure you center the mark. The studs should be every 16 to 18 inches along the wall. Cut the sheets to match the holes in the wall and get going.
Next, set the new piece of sheetrock where it can easily be screwed into the frame. Prop the board up (this is where your friend comes into play) and get ready to screw it off. Put the first two screws diagonally in the corners, which will help provide some support.
After that, place the screws around the edges at 6 to 8 inch intervals.
When you’re finished, clean up the edges of your drywall with a razor knife before you butt them together. You want to make the edges as straight as possible. Any overhang or gap will have to be filled in later, which will add more time to your project. So, careful scraping with the blade of the knife will save time.
Prop, screw, check, repeat.
Next steps:
Mudding & Taping
Sanding
Texturing

