
Replace a window channel in 6 easy steps
Begin by removing the sashes. This may require removal of window stops or trim, but in many cases the sashes may have jamb locks or the jambs may be compression fit.
The sashes of older double-hung windows can be drafty and rattle in the channels. They can also be hard to operate, if you can even move them at all. If your customers don’t have the budget to replace their windows, you can offer to replace a window channel for a lot less money, but end up with energy-efficient windows that operate properly.
Window channels typically range in size from 3 to 5 feet to fit most common windows. You can find window channel replacement kits at your local home center store or through a glass company for around $50, which will typically be adequate to repair one standard window or two small windows. Most window channels are plastic/vinyl or metal, but there are some more expensive wood replacement channels available through special order.
Follow these steps to replace a window channel in most typical double-hung windows.
Step 1 – Remove the stops.
If you are working from the inside of the house, which is usually the easiest, you only have to remove the stops on the interior of the window. To avoid breakage, use a thin molding pry bar and carefully pry only at the nail locations.
Remove any nails or screws that may be holding the old channel – or jamb liner – in place. Then carefully pry it out with a putty knife or thin pry bar to avoid damaging surrounding wood.
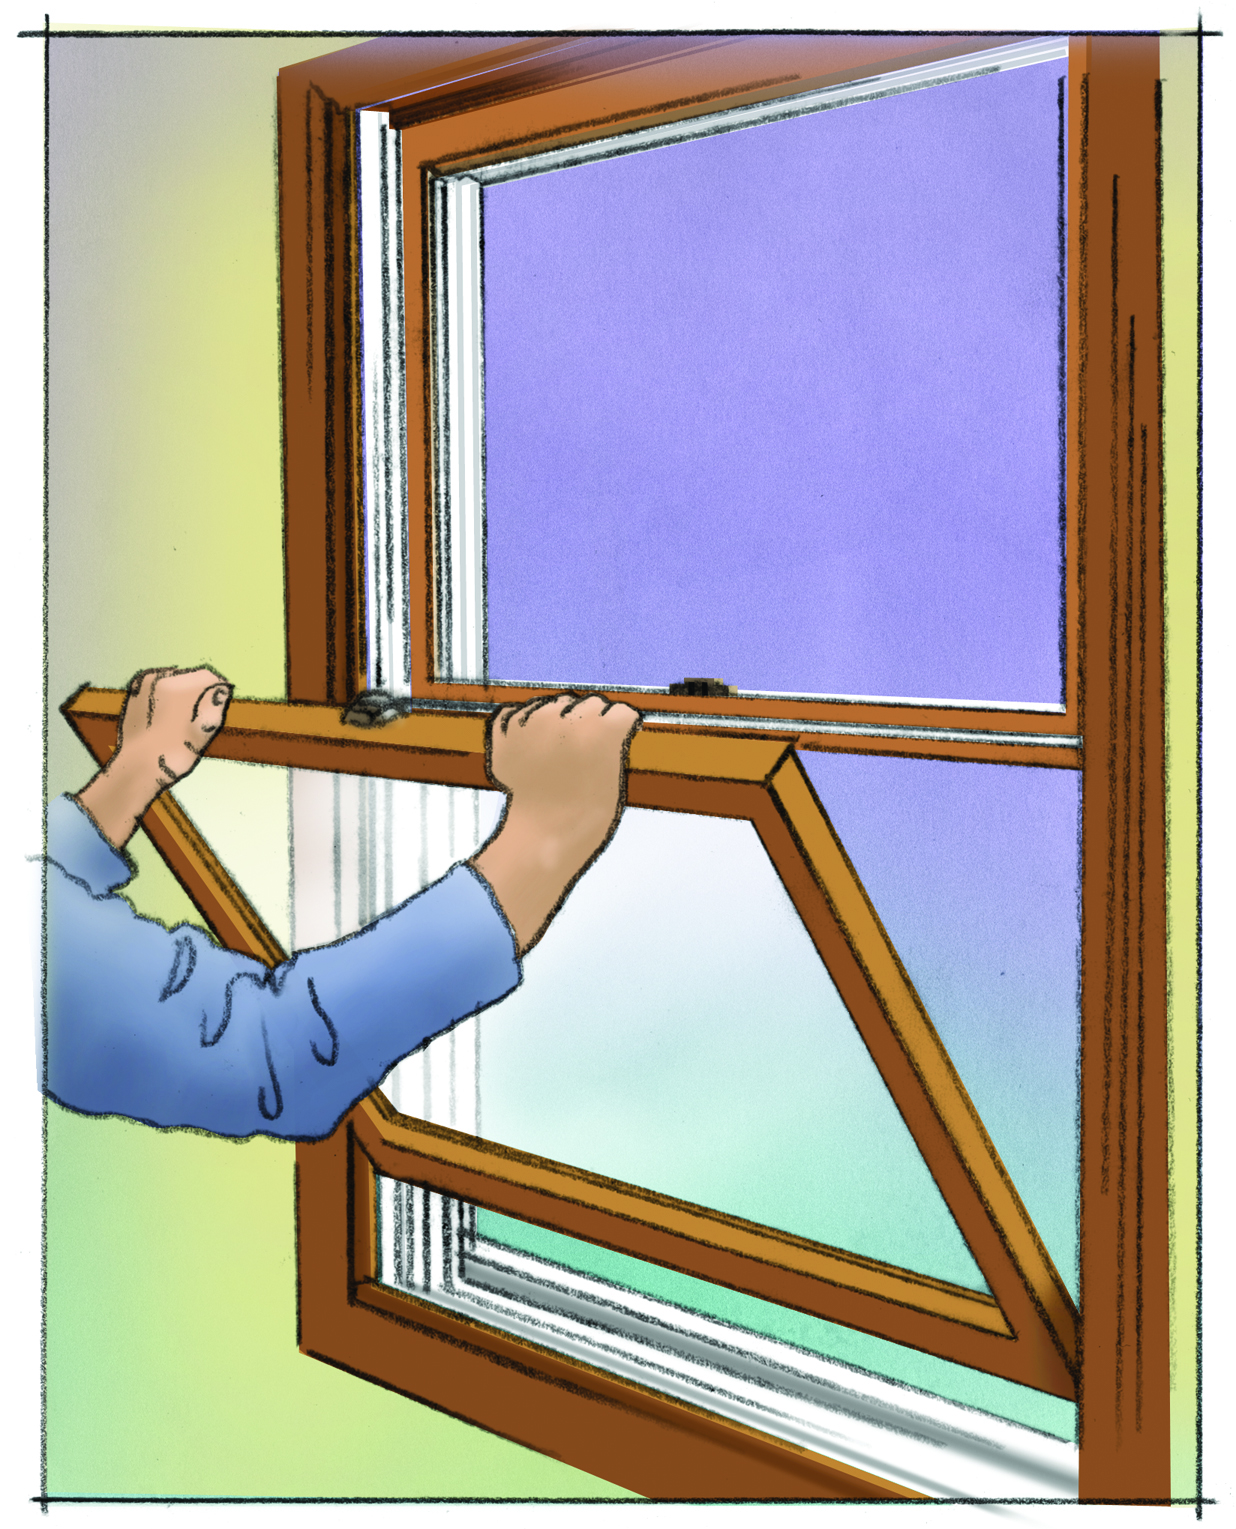
Step 2 – Pull the sashes and release the cords.
Remove the lower sash then pry out the parting strip to remove the upper sash. Set the sashes aside for cleaning or repainting if necessary. Pull the sash cords out of the grooves in the sashes. This is a good time to replace the sash cords as well, unless the replacement channels are spring-loaded, in which case you’ll want to remove the sash weights and put fiberglass insulation into the cavities.
Step 3 – Cut new window channels to length.
Carefully measure each side of the window jamb and cut the channels to fit using either a hacksaw or tin snips. Be sure to cut the bottom of the channels at an angle to match the slope of the sill.
Some channels have the bottom angle pre-cut, in which case you’ll only have to make a square cut at the top for proper fit. Fasten with screws or nails per manufacturer’s specifications.
NOTE: Some replacement channels require you to hold the channels against the sashes as you replace the entire assembly into the window frame, and then hold that in place by reattaching the interior stops.
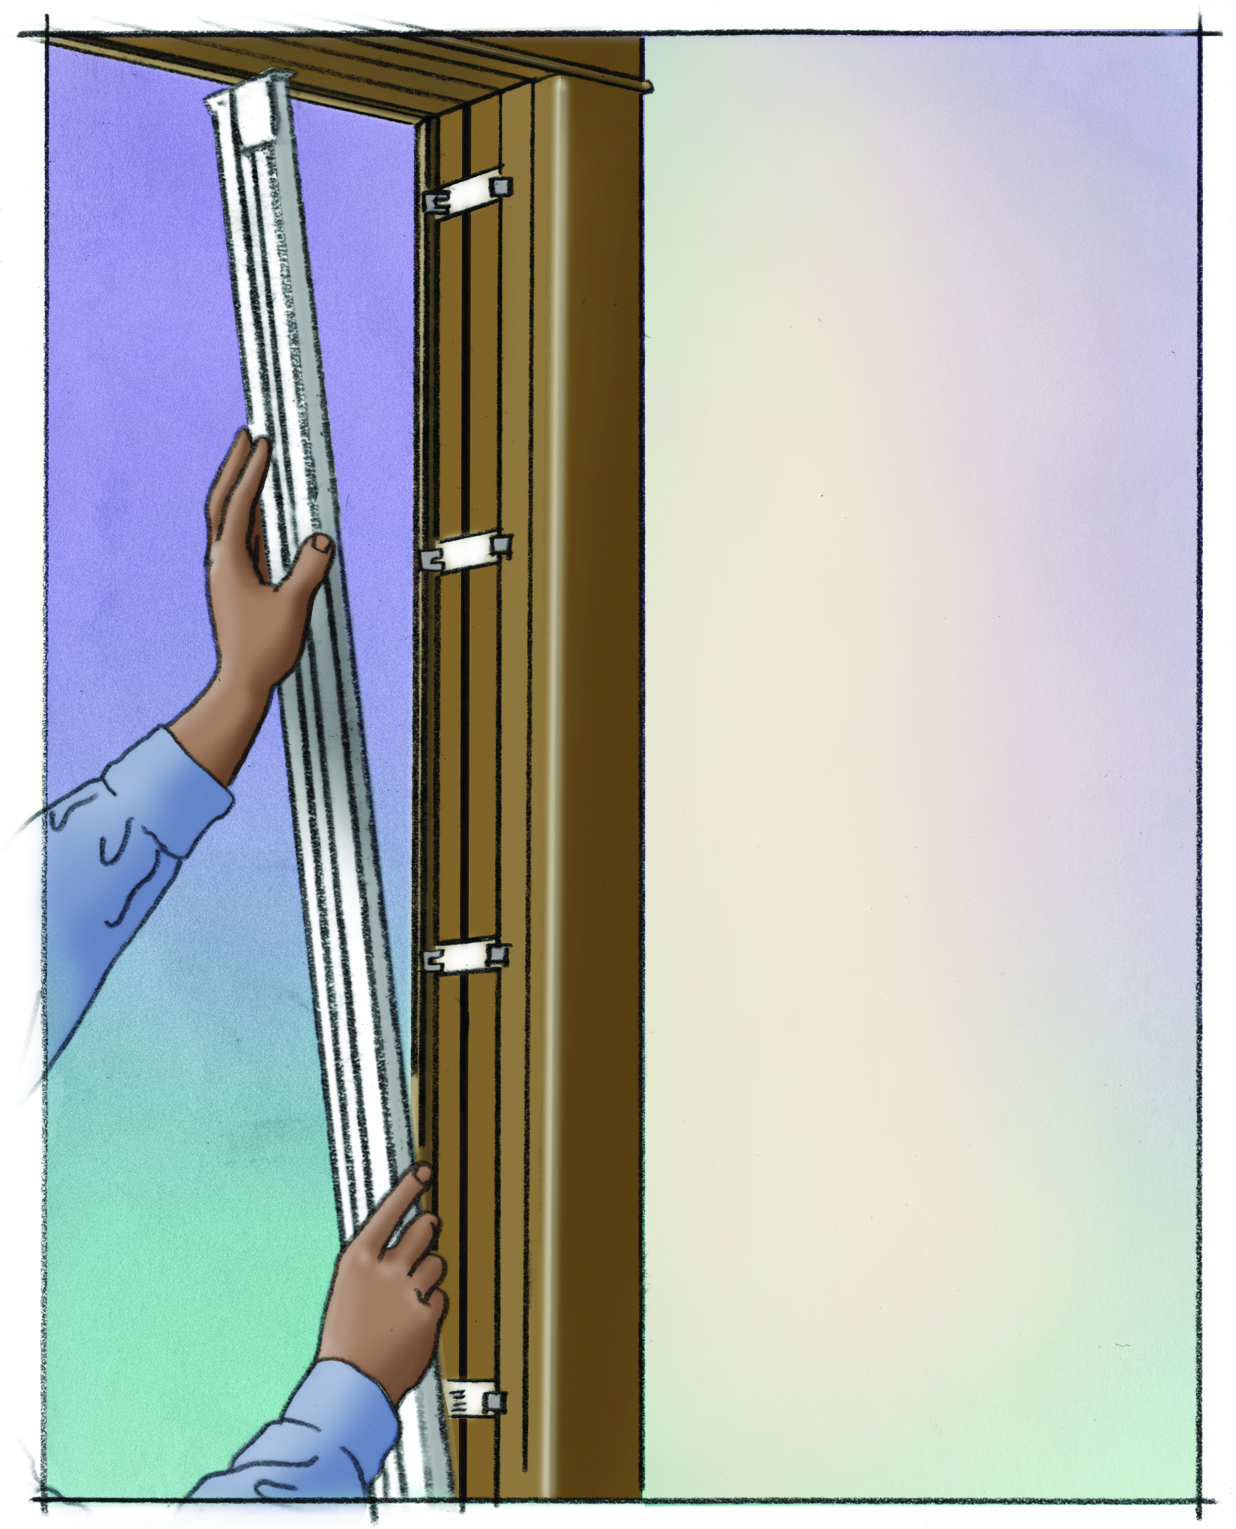
After careful measurement and cutting of new channel at the proper sill angle, install the replacement channels. Some systems require clips to be mounted first, while others are screwed or nailed into the jambs.
Step 4 – Trim sashes if necessary.
You may have to remove a bit of material from each sash before fitting them into the new channels. Channel manufacturers specify exact tolerances in the assembly instructions. Typically, any material that needs to be removed will be slight, and it can often be accomplished by sanding. In some cases, a circular saw may be required.
Step 5 – Replace the sashes.
Put the upper sash in first in the outside channel and then place the lower sash in the inside channel. Depending on the type of channel chosen, you may have to flex the channel to snap the sash into place, insert the sashes into slots at the top of the channel, or hold the channels against the sashes and replace the entire assembly into the frame (see note in step 3).
While the sashes are out of the window clean, scrape or sand away peeling paint, replace glazing compound if necessary, and inspect and repair or replace weatherstripping.
Step 6 – Test and finish.
Slide the sashes up and down a few times to ensure proper fit and operation. Replace the interior stops – making sure you don’t place them too tightly against the sash, which will impede operation – and move on to the next window.
[tip id=”10758″]
