
Replacing subfloor damaged by water
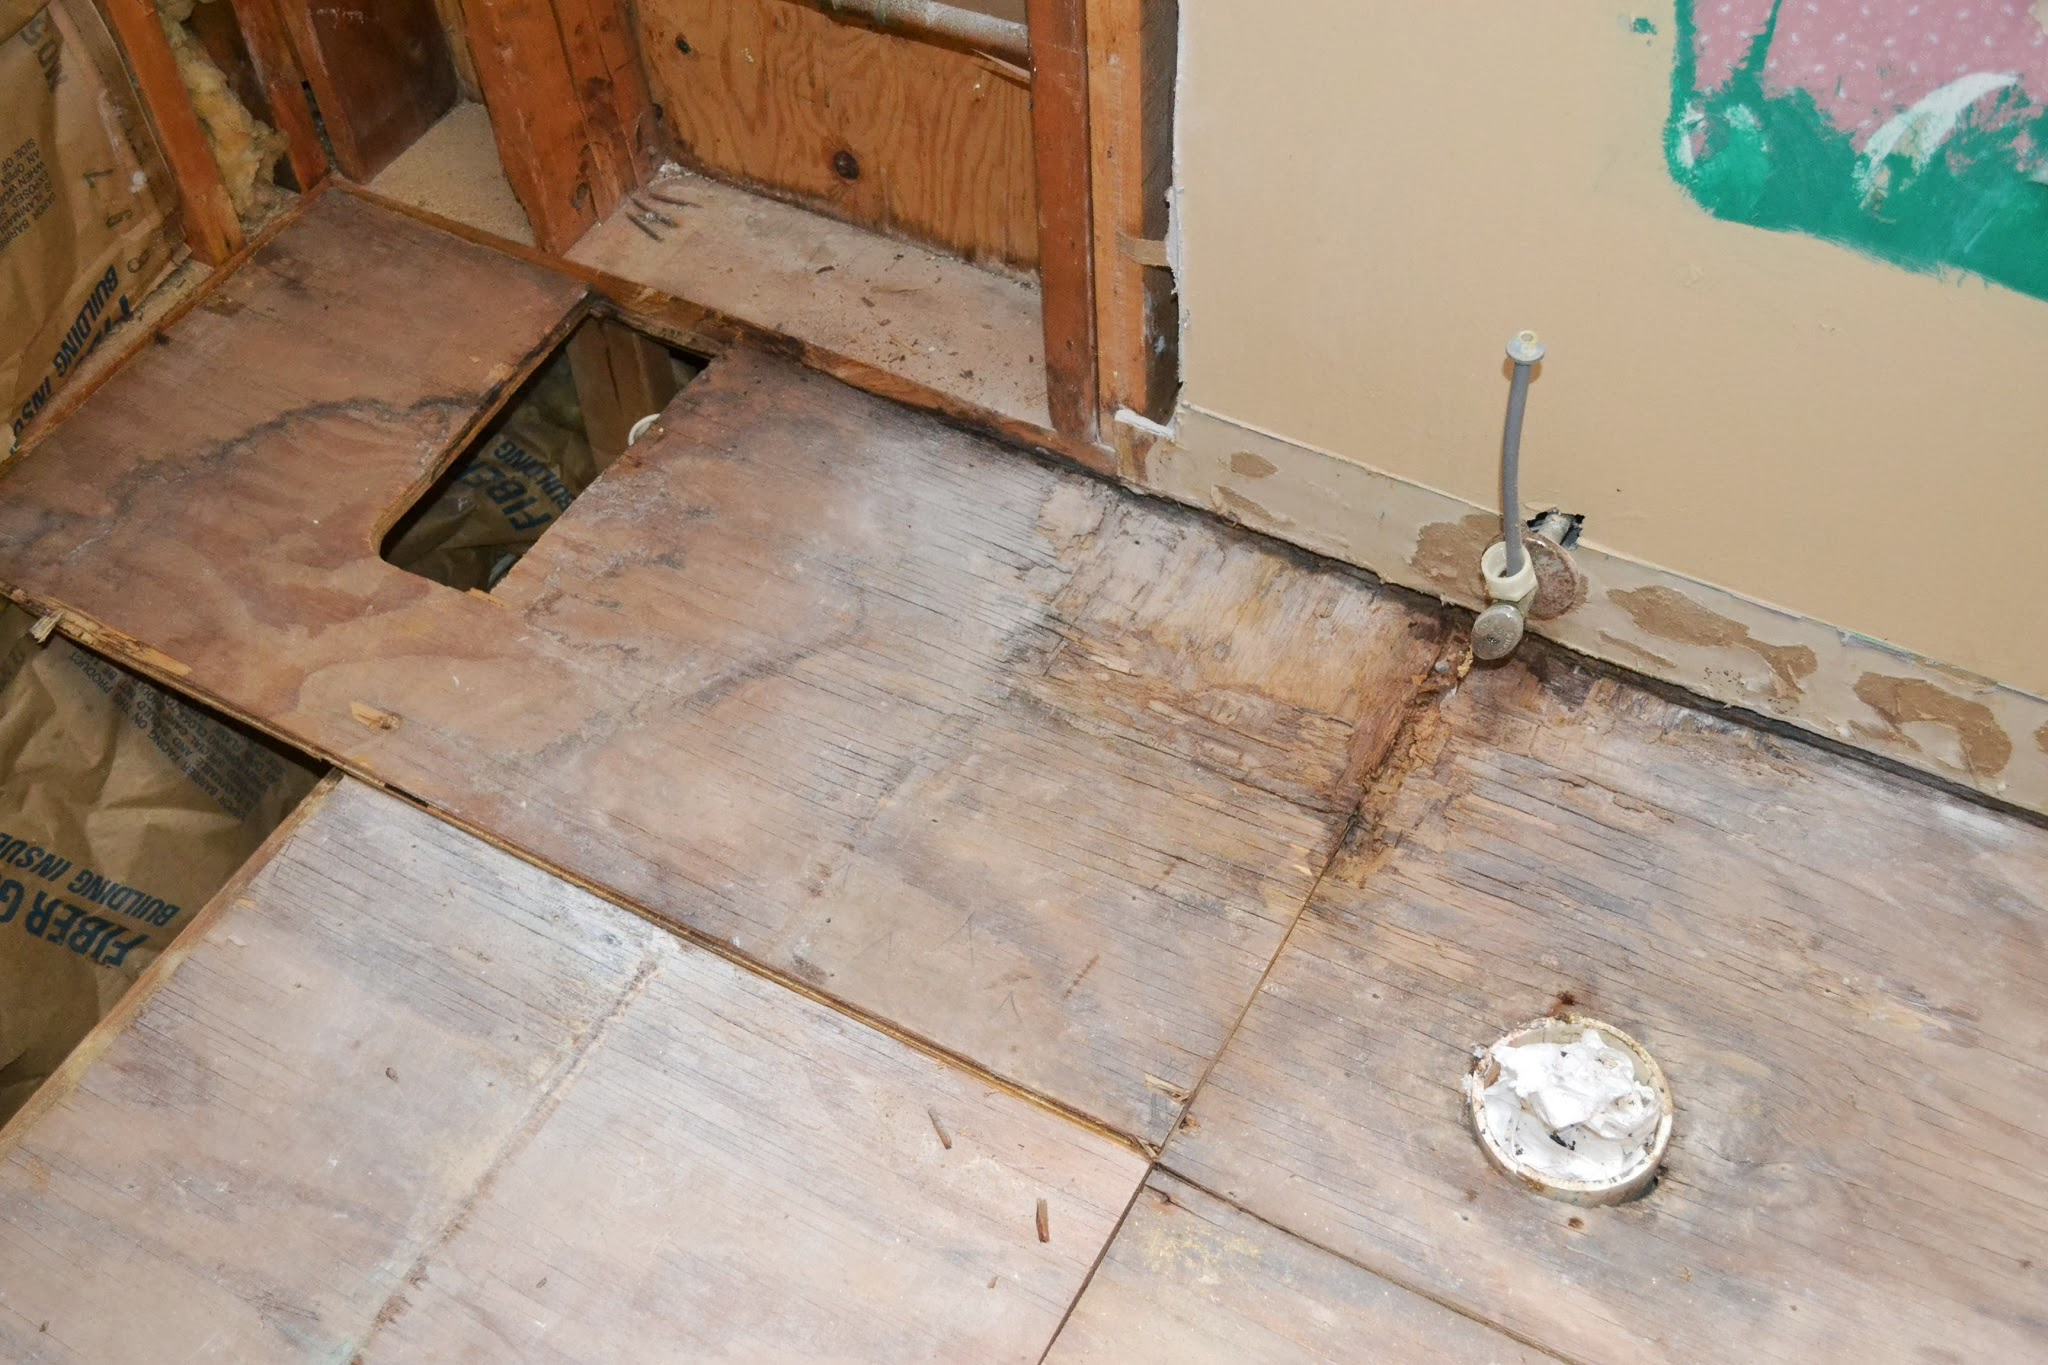
When the tile was removed, however, water damage to the subfloor was clearly visible near the toilet supply line, as well as in other areas.
Replacing subfloor damaged by water starts with fixing and eliminating the source of the leak. When that’s done, you can get down to the work of replacing subfloor.
Before replacing subfloor
Before replacing subfloor damaged by water, pull up any coverings such as linoleum or carpet. You may be able to remove a section and patch it back in with new floor covering, but the homeowner will often want full replacement. To remove particleboard overlay and the water-damaged subfloor, use a circular saw set to about a 1-inch depth, and cut the overlay and subfloor back beyond the damaged material until you reach solid structural framing. Use a pry bar to remove any protruding nails and unscrew any screws. Vacuum up the debris. If the floor joists are wet but not damaged, leave the area open for a few days to allow it to dry completely.
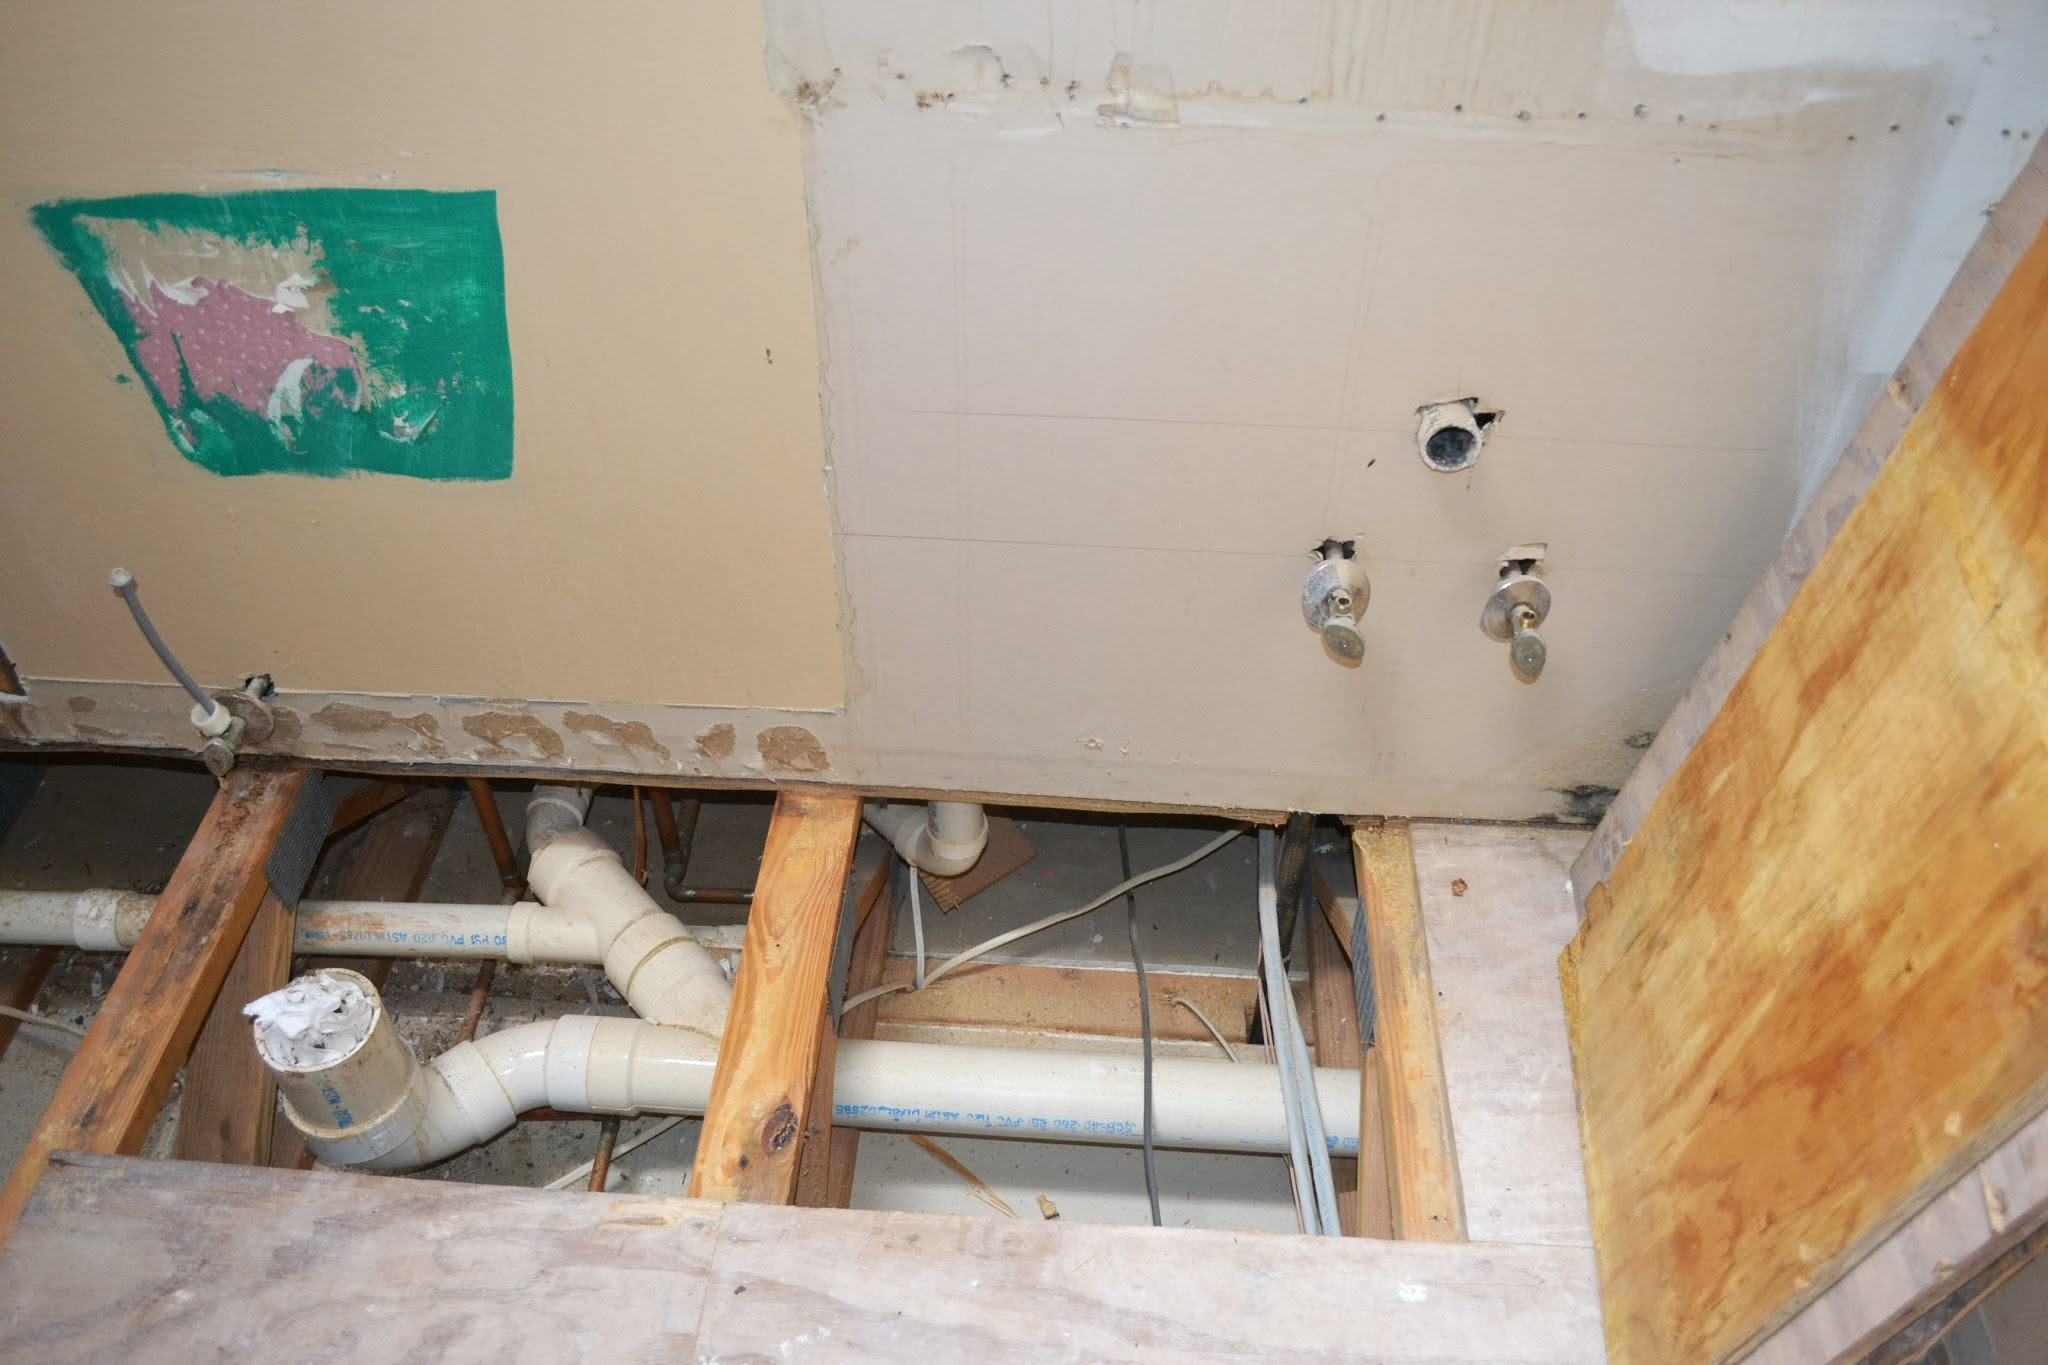
The damaged plywood was removed and the underlying floor trusses were inspected for damage.
Add support before replacing subfloor
If the joists are old and bouncy, or if the replacement plywood won’t catch a joist (such as at a rim joist on a perimeter wall), you’ll need to “sister” some new framing to the old. Install the new framing level with the top of the old, glue it with construction adhesive and screw it in place.
Measure and cut new material
Subflooring is typically 5/8-inch CDX plywood, but other materials may also have been used. The new subflooring doesn’t have to be exactly the same material, but the thickness must be identical. Measure and cut plywood as needed to replace what has been removed. Leave about a 1/8-inch gap between the new plywood and the old to allow for natural expansion of the materials.
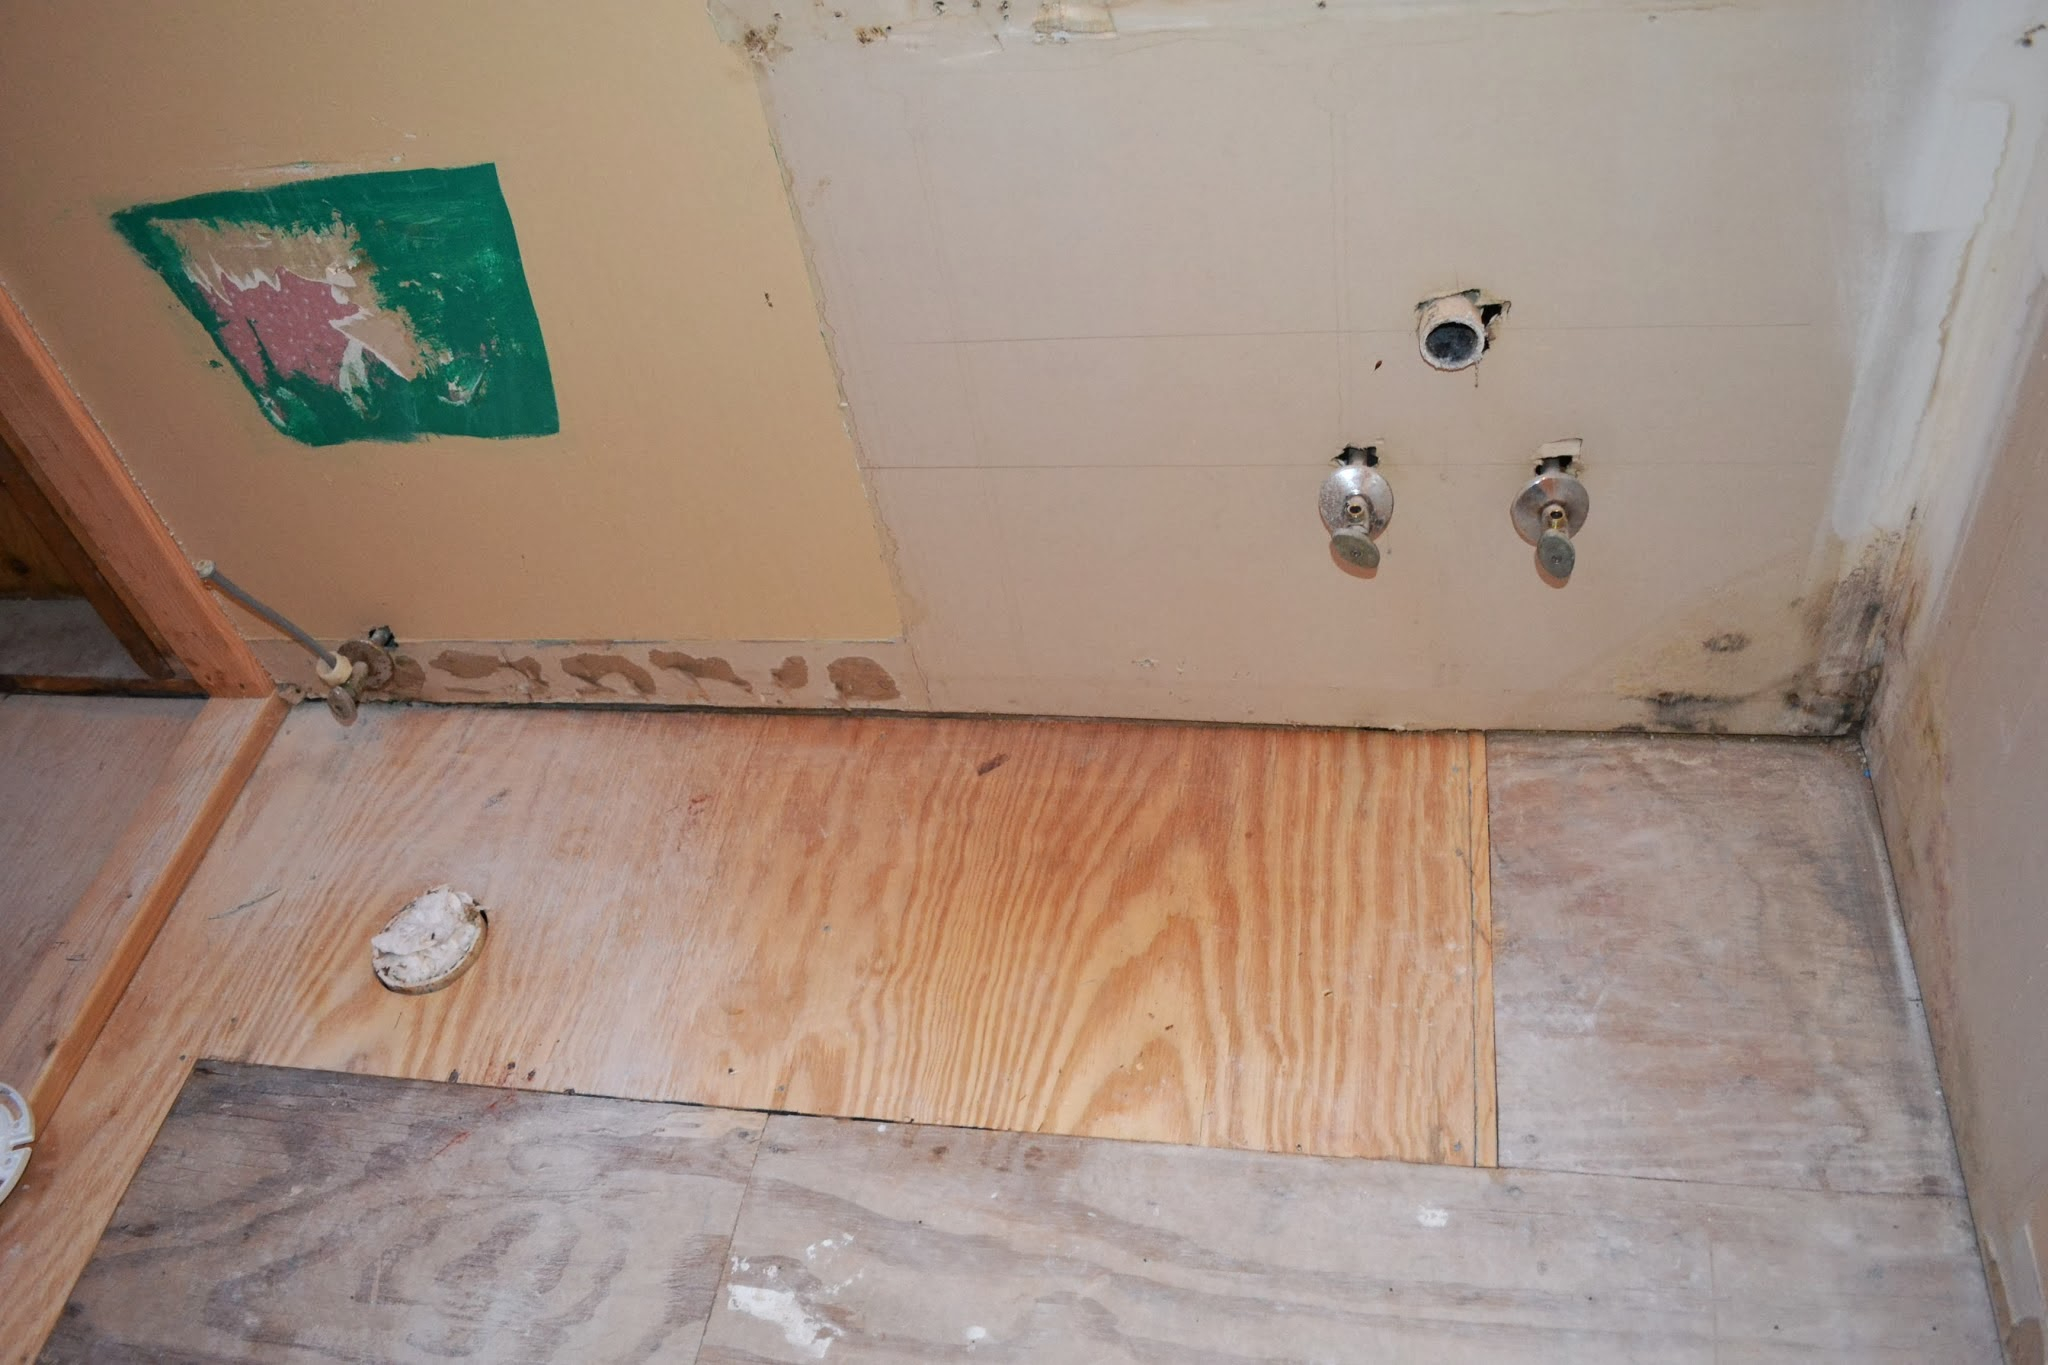
New plywood of the same thickness as the existing material was installed to the floor trusses. The floor is now ready for the new floor covering.
Fasten the new material
Use nails or screws to attach the new plywood to the framing members. Make sure they are either galvanized or another corrosion-resistant material. Space them about every 6 to 8 inches around the perimeter, and every 12 inches in the center. Repeat this process with particleboard overlay if necessary, making sure that the new material planes out perfectly with the old so that no bumps, ridges or gaps will show through the finished floor.
Sand any high spots along the seam where the new patch meets the old subfloor. Fill any depressions with self-leveling floor compound.
Tools and materials needed
- hammer
- circular saw
- reciprocating saw
- screw gun
- pry bar/crowbar
- nails/screws
- tape measure
- utility knife
- construction adhesive
- personal protective equipment
