
6 repairs with construction adhesives and sealants
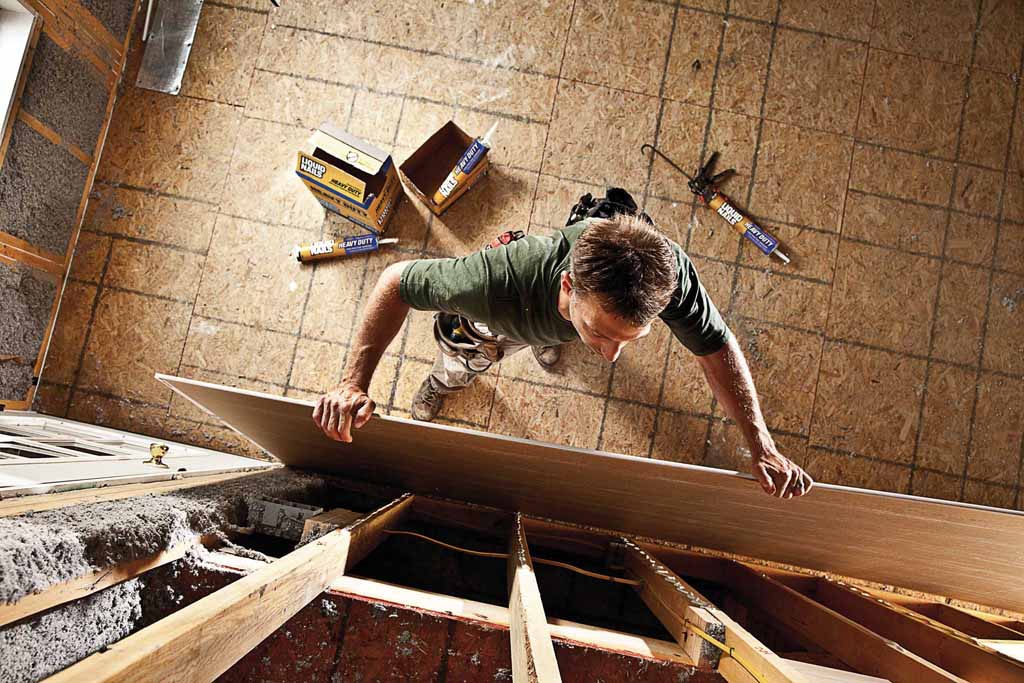
You’ll be able to use fewer screws to patch drywall when you use construction adhesive, which will save time finishing the repair.
Today’s construction adhesives and sealants are available in so many different formulations and feature such a wide range of performance characteristics, that there is little they can’t do.
Here are 6 common repairs with construction adhesives and sealants that can be quickly and effectively handled.
Large drywall repairs
Most professional drywall hangers use drywall adhesive in conjunction with mechanical fasters when hanging new drywall. It reduces nail and screw pops in drywall and adds strength to the walls. Those same benefits are realized with large patches and repairs.
You’ll need fewer screws to patch drywall if you use adhesive, which will save time finishing the repair. On older walls or those with crooked or bowed studs, use blobs of adhesive spaced about every eight inches.
For straight framing members, use a continuous bead. Do not apply adhesive at the edges of the patch or sheet of drywall, as it could seep out through the joint.
Resetting loose masonry anchors
Time and weather can loosen concrete anchor bolts, especially in railing assemblies or anything that sees a fair amount of stress and vibration. Most often, this fix doesn’t call for any re-drilling or elaborate concrete repair work. Simply remove the loose bolt, and mix up a small batch of metal and concrete epoxy.
Mix the resin and hardener as per the instructions, insert some into the hole and then re-insert the bolt. Some epoxies will harden in as little as 10 to 15 minutes, but it is generally advisable to avoid stressing the epoxy for 24 hours for the strongest repair.
Add strength to a shed roof by applying a bead of strong construction adhesive along the rafters before sheathing.
Improve a roof’s wind uplift resistance
For sheds and outbuildings, you can add a lot of strength to the roof assemblies by applying a bead of strong construction adhesive along the rafters before sheathing them.
These smaller buildings aren’t engineered to withstand stronger storms like houses are, so adding adhesive during construction can dramatically improve their ability to ride out some pretty high winds.

Use a construction adhesive that sets hard (not flexible) and will not shrink, and you can re-set a new tile in minutes.
Replace a broken tile
You don’t have to mix a batch of thinset or mortar to replace a broken or loose ceramic tile. Choose a construction adhesive or sealant that sets hard (not flexible) and will not shrink and you can re-set a new tile in minutes.
You first have to cut away the grout around the tile to be removed. If the tile is only cracked but still stuck to the subfloor, break the tile apart from the center out, to avoid breaking any neighboring tiles. Remove as much of the cured thinset from the subfloor under the removed tile as possible and vacuum any dust and small debris.
Spread a generous bead in a fairly tight “s” pattern across the back of the tile. Press the tile into place and lift it back up to make sure the adhesive spread out for very close to full coverage. Set the tile back down and ensure that it is spaced properly and at the right level, add more adhesive if you need to build it up. If any adhesive oozes out into the grout joints, scrape it away immediately and take care not to let it touch the surface of the tile, as it could stain it. Allow to cure for 24 to 48 hours, and then re-grout the joints.

Use a clear, non-hardening (stays flexible) waterproof sealant to patch siding and downspouts.
Fixing loose siding elements
Some vinyl siding trim elements can be knocked loose or cracked over the years, but you don’t always have to tear it off and replace it with a new one. Use a clear, non-hardening (stays flexible) waterproof sealant to patch it up. Make sure the repair area is clean and dry, and that any old silicone, caulk or adhesives have been cleaned away. Lay a uniform bead that overlaps both surfaces for a good seal, forcing the silicone into the seam or crack. Try to lay the neatest bead as possible the first time and avoid excessive tooling for the most invisible repairs.
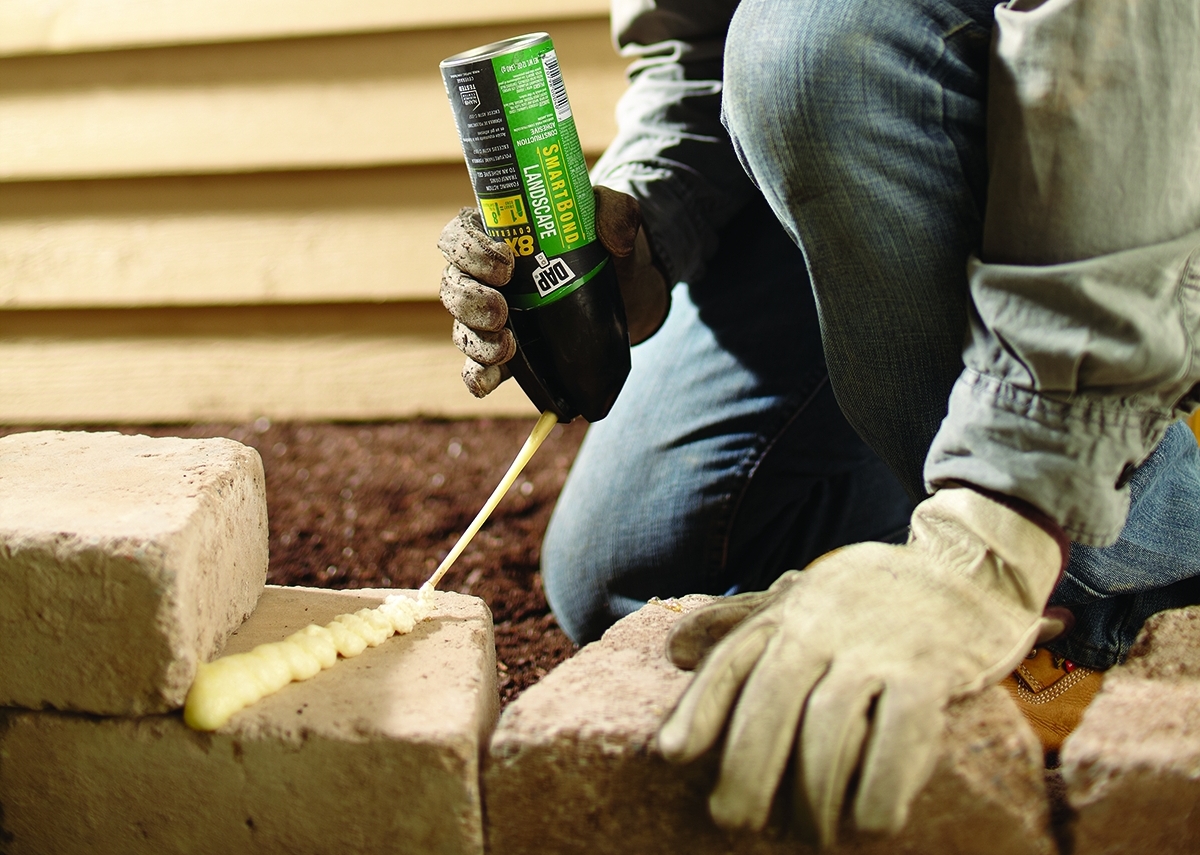
Landscape adhesive can be useful in repairing loose or wobbly stones, pavers or blocks.
Repair and replace hardscape elements
Landscaping blocks and retaining walls less than 3 feet high are often installed with the use of landscape adhesive, which provides a permanent structural bond. And while it is true that many hardscape installations do not require it, landscape adhesive can be useful in repairing loose or wobbly stones, pavers or blocks.
A small amount between the offending stone and it’s base will keep that stone from wobbling, prevent people from kicking it loose as they walk by/over it, and it can even glue a broken block back together (if the block is in an inconspicuous spot, since the repair itself will be conspicuous.
Choose a polyurethane adhesive that can be applied in wet, cold or freezing conditions, sets up fast and is compatible with multiple surfaces from block to synthetic stone to pressure-treated wood and concrete. You can even re-set loose bricks from stairs and walls, just remember to chip away all loose mortar and re-tuckpoint the mortar joints after the adhesive has cured.
