5 steps to installing crown molding on a vaulted ceiling
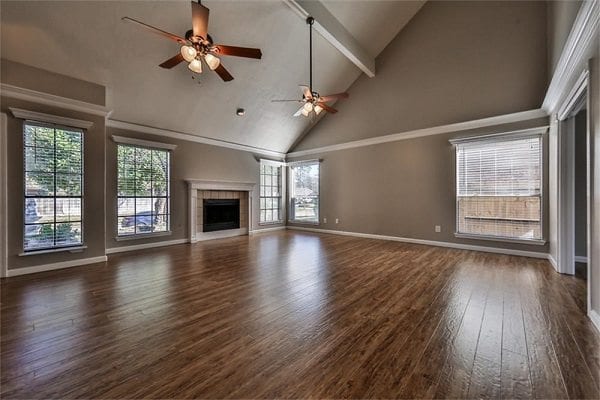
Traditional crown molding is installed horizontally, so angling it upward to suit a vaulted ceiling makes the molding look broken, disorganized and confused. One solution for installing crown molding on a vaulted ceiling is “flying” crown molding, which is installed horizontally several feet below ceiling height. The straight line creates a triangular patch out of the space between the trim and the peaked ceiling.
Flying molding also creates the look of a more intimate space. This solution for installing crown molding on a vaulted ceiling makes the room seem cozier because it stops the wall paint at 8 or 9 feet, which produces lower-feeling ceiling.
Here’s how to install flying crown molding:
1. Paint the wall before installing the crown molding. The paint can stop at the vault line—the point where the ceiling meets the walls, which is where the molding will run around the room horizontally. To maintain the dramatic effect of the angled ceiling, paint the low-sloped ceiling a contrasting color. If the room has a tall ceiling that is not vaulted, paint the wall above the molding the same color as below it.
2. Because a cathedral ceiling isn’t flat, there’s no secure surface for the top of the crown molding to attach to. So for installing crown molding on a vaulted ceiling, you’ll have to create a support. Measure the angle of the ceiling to the wall, and cut several long strips of wood at that angle; it will probably be less than 45 degrees. Mount those to the wall all the way around the room. Without this blocking, the molding will be loose.
3. The top of the crown molding will sit level at the intersection of the wall and the ceiling—not on the ceiling. In other words, the top of the molding will actually be unattached, while the bottom will be attached to the angled blocks. Thus, the label “flying.”
4. At the inside corners, the mitered edges of the molding also have no support. One solution is to cut smaller wedges from scrap wood and force them behind the molding at the corners. Drive a couple of pin nails to hold the block in place.
5. If the molding terminates at an outside corner rather than wrapping all the way around the top of a room, adorn the end point with a finial return. A finial return is a small, decorative box that complements the style of the molding. It gives the crown molding a reason to stop, rather than stopping with a simple hanging return that can sometimes feel like the design is unfinished. It also adds a flourish and a focal point.
— Sharon O’Malley

